

Summary
- The July full moon peaks on July 29, 2026, at 5:35 p.m.
- The Moon sets over Athens at 5:56 a.m.
- Sunset occurs at 8:38 p.m.
- Moonrise occurs at 8:47 p.m.
- The best photography window lasts approximately 30 to 40 minutes after moonrise
- Low ISO, a fast shutter speed and manual focus are recommended
- Moonrise and moonset in Athens
- When photographers should arrive
- The best photography window
- Choosing a location
- Planning applications
- Making the Moon look enormous
- Choosing a focal length
- Essential equipment
- Basic settings for a lunar close-up
- The Looney 11 rule
- Settings for the Moon and landscape
- Why a fast shutter speed is necessary
- Achieving accurate focus
- Avoiding camera shake
- Checking the histogram
- Bracketing
- Continuous shooting
- Depth of field
- Smartphone photography
- Wide-angle photography
- Panoramic photography
- Atmospheric conditions
- Wind
- Editing the files
- Common mistakes
- A practical shooting schedule for Athens
- What we think
- Frequently asked questions
The July full moon peaks on Wednesday, July 29, 2026, creating a particularly interesting photography window shortly after sunset.
In Athens, the Moon will set at 5:56 a.m. and rise again at 8:47 p.m., while sunset will occur at 8:38 p.m. The full phase peaks at 5:35 p.m. Greek time, while the Moon is still below the horizon.
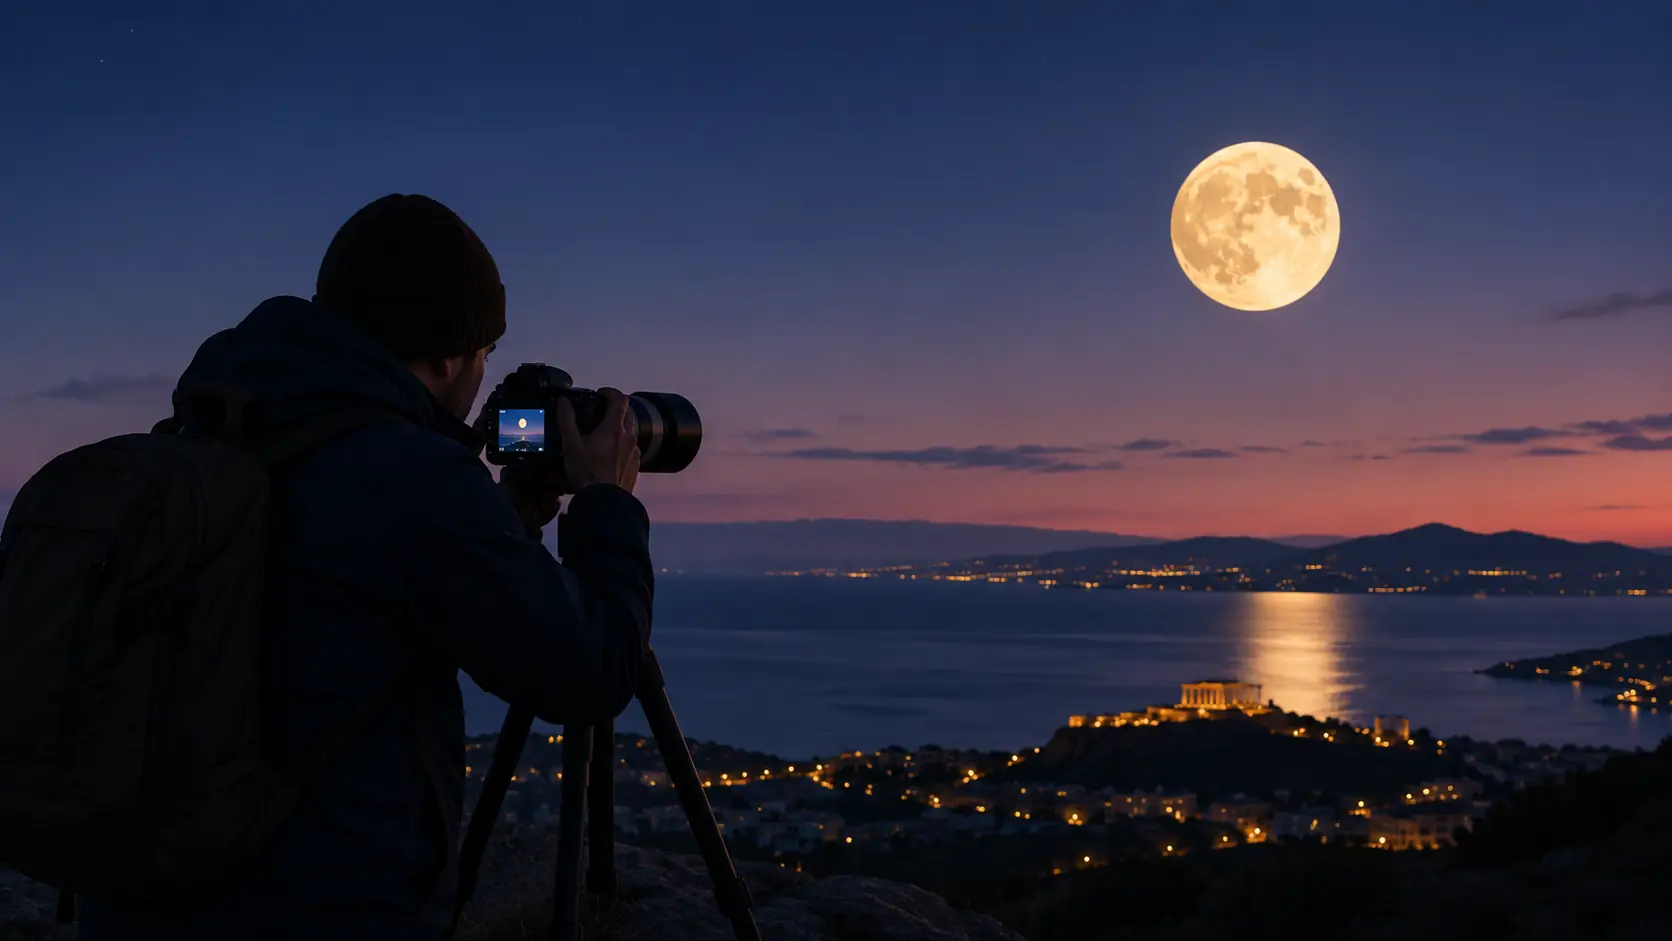
The short interval between sunset and moonrise is important for photographers. The landscape will retain some natural light, while the Moon will appear low above the east-southeastern horizon, offering a better balance between the bright lunar surface and the surrounding environment.
Moonrise and moonset in Athens
The key times for Wednesday, July 29, 2026, are:
- Moonset: 5:56 a.m.
- Sunrise: 6:25 a.m.
- Full moon peak: 5:35 p.m.
- Sunset: 8:38 p.m.
- Moonrise: 8:47 p.m.
The Moon will rise approximately nine minutes after sunset. The sky will not yet be completely dark, and the landscape will still be illuminated by twilight.
These times apply to Athens. Other locations in Greece may differ by several minutes because of geographical position, elevation and obstacles on the horizon.
When photographers should arrive
Photographers should arrive at the location at least 45 to 60 minutes before moonrise.
In Athens, the equipment should be ready by 7:45 p.m. or no later than 8:00 p.m.
This provides enough time for:
- Choosing the correct position
- Checking the horizon
- Composing the frame
- Setting up the tripod
- Adjusting focus
- Taking test photographs
- Monitoring the changing light
The published moonrise time refers to the Moon appearing above the mathematical horizon. Mountains, buildings, trees or low clouds may delay its first visible appearance.
The best photography window
The most important photography window begins at approximately 8:47 p.m. and lasts for the following 30 to 40 minutes.
During this period:
- The Moon remains low above the horizon
- The landscape retains some natural light
- The lunar disc may appear golden or orange
- It can be combined with buildings, monuments or mountains
- The brightness difference between the Moon and foreground is reduced
As the Moon rises, it gradually becomes whiter and brighter. At the same time, the landscape becomes darker, making exposure more difficult.
Choosing a location
A successful full moon photograph depends heavily on the shooting location.
The location should provide:
- A clear view towards the east or east-southeast
- Few obstacles along the horizon
- Enough space for the photographer to move
- An interesting foreground subject
- Safe access before and after sunset
Suitable foreground subjects include:
- Archaeological sites
- Castles
- Lighthouses
- Churches
- Monasteries
- Windmills
- Bridges
- Mountains
- Trees
- Ships
- Human figures
A photograph of the Moon alone can reveal interesting detail, but a recognisable foreground element provides scale and a stronger composition.
Planning applications
Planning applications can calculate the Moon’s direction and altitude at a specific time.
Useful options include:
- PhotoPills
- Planit Pro
- The Photographer’s Ephemeris
They can help calculate:
- The exact moonrise direction
- The Moon’s path across the sky
- Its position in relation to a building or mountain
- The required distance from the foreground subject
- The time of the desired alignment
Visiting the location in advance is still important because applications may not show trees, fences, new buildings or other local obstacles accurately.
Making the Moon look enormous
The Moon does not physically become larger near the horizon.
Part of the effect comes from comparing it with buildings, trees, people and other familiar objects. Making it appear truly large in a photograph requires specific choices.
The photographer needs:
- A long focal length
- A considerable distance from the foreground subject
- Accurate alignment between the camera, subject and Moon
- A stable shooting position
A telephoto lens narrows the field of view and creates the impression that distant subjects are closer together. The Moon can therefore appear enormous behind a building or beside a person.
Choosing a focal length
Focal length determines how large the Moon appears in the frame.
- 24-70mm: The Moon appears small within a wide landscape
- 100-200mm: It gains greater presence without dominating the composition
- 300-400mm: It becomes a major element of the image
- 500-600mm: It occupies a significant part of the frame
- 800mm and above: It allows close photographs of the lunar surface
APS-C cameras provide a narrower field of view, making the Moon occupy more of the image than with a full-frame camera using the same lens.
Essential equipment
Useful equipment includes:
- DSLR or mirrorless camera
- Telephoto or zoom lens
- Stable tripod
- Remote release or self-timer
- Fully charged battery
- Spare battery
- Memory card with enough free space
- Lens-cleaning cloth
- Headlamp or small flashlight
The camera does not need to be a professional model. Manual control, stability and correct lens use are more important.
Basic settings for a lunar close-up
A useful starting point is:
- Exposure mode: Manual
- File format: RAW
- ISO: 100 or 200
- Aperture: f/8 to f/11
- Shutter speed: 1/125 to 1/250 second
- Focus: Manual
- White balance: Daylight
- Colour temperature: Approximately 5,200 to 5,600 Kelvin
- Metering: Spot
- Self-timer: Two seconds
These values are a starting point rather than an absolute rule. Final exposure depends on atmospheric clarity, lunar altitude, clouds and sky brightness.
The Looney 11 rule
The Looney 11 rule provides a simple initial exposure for the bright lunar surface.
The basic settings are:
- Aperture: f/11
- ISO: 100
- Shutter speed: Approximately 1/100 second
Most cameras can use the nearest available value, such as 1/125 second.
The rule works because the Moon is directly illuminated by the Sun. Although photographed against a dark sky, its surface is bright.
Settings for the Moon and landscape
When photographing the Moon together with the landscape shortly after moonrise, a useful starting point is:
- ISO: 200 to 800
- Aperture: f/5.6 to f/8
- Shutter speed: 1/60 to 1/250 second
- File format: RAW
- Focus: According to the foreground distance
- Metering: Manual control using the histogram
The main difficulty is the large brightness difference between the Moon and the ground.
Exposing for the landscape may turn the Moon into a white disc without detail. Exposing only for the Moon may leave the foreground too dark.
The 8:47 p.m. moonrise, only nine minutes after sunset, reduces this problem because some natural light remains in the landscape.
Why a fast shutter speed is necessary
The Moon moves continuously across the sky.
Its motion may not be obvious with a wide-angle lens, but it becomes much more noticeable with a 400mm, 600mm or longer lens.
Useful starting speeds include:
- 1/125 second for moderate focal lengths
- 1/250 second for longer telephoto lenses
- 1/500 second when there is strong atmospheric instability or wind
ISO or aperture can be adjusted when a faster shutter speed is required.
Achieving accurate focus
Autofocus may work on the bright Moon, but manual focus provides more consistent results.
The process is:
- Activate Live View
- Magnify the Moon on the screen
- Focus manually on the edge or craters
- Take a test photograph
- Inspect the image at high magnification
- Make a small correction if necessary
The infinity mark on the lens is not always perfectly accurate, so focus should be confirmed on the screen or electronic viewfinder.
Avoiding camera shake
Even a small vibration can reduce sharpness when using a long lens.
For better stability:
- Use a stable tripod
- Avoid fully extending the centre column
- Activate a two-second timer
- Use a remote release
- Avoid touching the camera during exposure
- Protect the equipment from strong wind
DSLR users can activate mirror lock-up, while mirrorless users may use the electronic shutter when appropriate.
Checking the histogram
The camera screen may make an image appear correctly exposed even when the Moon has lost all highlight detail.
The histogram is more reliable.
The photographer should check:
- Whether highlights are clipped on the right
- Whether the Moon shows overexposure warnings
- Whether craters and darker regions remain visible
- Whether useful foreground information is retained
When the Moon is overexposed:
- Lower the ISO
- Use a faster shutter speed
- Select a smaller aperture
Bracketing
When the Moon and landscape have a very large brightness difference, exposure bracketing can help.
A simple sequence includes:
- One darker image for lunar detail
- One medium exposure for the sky
- One brighter image for the foreground
The photographs can be blended during editing if they were captured from the same position within a short period.
The Moon moves quickly in relation to the foreground, so careless blending may create an unnatural outline.
Continuous shooting
A perfect alignment between the Moon and a building may last only a few seconds.
Continuous shooting is useful for:
- Towers
- Statues
- Bell towers
- Lighthouses
- Mountain peaks
- Distant human figures
Short bursts are usually sufficient. The maximum burst speed of the camera is not required.
Depth of field
When the foreground is close to the photographer and the Moon is at infinity, it may be difficult to keep both perfectly sharp.
Possible solutions include:
- Increasing the distance from the foreground
- Using f/8 or f/11
- Focusing at an intermediate distance
- Capturing two images with different focus points
- Using focus stacking during editing
A distant foreground subject and a long lens often make it easier to keep both the subject and Moon acceptably sharp.
Smartphone photography
A modern smartphone can photograph the full moon, particularly when it has a genuine optical telephoto camera.
For better results:
- Use a tripod or stable support
- Select the optical telephoto camera
- Avoid excessive digital zoom
- Lower exposure by tapping the Moon
- Use Pro Mode where available
- Select a low ISO
- Use a fast shutter speed
- Save RAW files if supported
- Activate the self-timer
Night Mode may overexpose the Moon because it is designed to brighten dark scenes. It is generally more useful for the landscape than for the lunar disc.
Wide-angle photography
A telephoto lens is not compulsory.
A wide-angle lens makes the Moon appear smaller but allows it to become part of a larger landscape.
Attention should be given to:
- Landscape lines
- Frame balance
- Lunar position
- Artificial lights
- Sky colour
- The relationship between sky and foreground
Wide-angle photographs may capture the atmosphere of the evening better, even without showing detailed lunar features.
Panoramic photography
The full moon can also be included in a panoramic composition.
For consistent results:
- Mount the camera on a stable tripod
- Keep exposure in Manual mode
- Keep white balance fixed
- Do not change focus between frames
- Overlap each image with the next
- Complete the sequence quickly because the Moon is moving
Automatic exposure may create brightness differences between frames and complicate the panorama stitching process.
Atmospheric conditions
Image quality is strongly affected by the atmosphere, particularly when the Moon is low.
Possible problems include:
- Humidity
- Dust
- Smoke
- Thermal turbulence
- Air pollution
- Thin clouds
The first photographs after moonrise may have striking colour but less detail. As the Moon climbs, clarity usually improves, while the warm tones gradually disappear.
Wind
Wind can cause small movements in the camera and telephoto lens.
To reduce the problem:
- Open the tripod legs fully
- Keep the centre column low
- Remove or secure the camera strap
- Avoid hanging an unstable weight from the tripod
- Use a faster shutter speed
- Protect the equipment from strong gusts
Long lenses act as large surfaces in the wind and require stronger support.
Editing the files
RAW files provide more flexibility during editing.
Useful adjustments include:
- Reducing highlights
- Slightly increasing contrast
- Enhancing texture
- Applying careful sharpening
- Reducing digital noise
- Correcting chromatic aberration
- Adjusting white balance
- Applying local adjustments to the Moon and foreground
Excessive sharpening may create artificial edges around the Moon, while too much texture can make the surface look unnatural.
Common mistakes
The most frequent mistakes include:
- Using only automatic exposure
- Overexposing the Moon
- Selecting an excessively high ISO
- Using a shutter speed that is too slow
- Inaccurate focus
- An unstable tripod
- Excessive digital zoom
- Arriving late
- Obstacles on the horizon
- A weak foreground
- Incorrectly predicting the Moon’s path
- Failing to take test photographs
Testing the equipment on the previous evening can prevent many of these problems.
A practical shooting schedule for Athens
A useful schedule is:
- 7:30 p.m.: Arrive in the area
- 7:45 p.m.: Choose the final position
- 8:00 p.m.: Set up the tripod and camera
- 8:15 p.m.: Check composition and focus
- 8:30 p.m.: Take test photographs
- 8:38 p.m.: Sunset
- 8:47 p.m.: Moonrise
- 8:47-9:27 p.m.: Main photography window
- After 9:27 p.m.: Capture closer images of the Moon higher in the sky
What we think
The 8:47 p.m. moonrise, only nine minutes after sunset, creates favourable photography conditions in Athens. The most important advantage will not be an expensive telephoto lens, but arriving early, accurately predicting the Moon’s position and balancing the bright lunar disc with the landscape.
Frequently asked questions
What time does the full moon rise in Athens?
The Moon rises at 8:47 p.m. on Wednesday, July 29, 2026.
What time does the Moon set?
The Moon sets in Athens at 5:56 a.m.
What time is sunset?
Sunset in Athens occurs at 8:38 p.m.
What is the best photography window?
The best window begins at moonrise at 8:47 p.m. and lasts approximately 30 to 40 minutes.
Which initial camera settings can be used?
A useful starting point for a lunar close-up is ISO 100, f/8 to f/11 and a shutter speed between 1/125 and 1/250 second.