

Summary
- Autumn woodland photography depends primarily on clear composition and careful subject selection.
- Leading lines, isolation, telephoto framing and fog help organize complex scenes.
- Water, reflections and slow shutter speeds offer different creative approaches.
- Camera settings and editing should adapt to the actual conditions and the result you want.
- 1. Start with lines that guide the eye
- 2. Simplify: isolate one tree instead of photographing the whole forest
- 3. Use color as a point of attention, not as an end in itself
- 4. Fog is a ready-made tool for layers and simplification
- 5. With a telephoto lens, look for repetition and patterns
- 6. With reflections, decide what is subject and what is background
- 7. With moving water, shutter speed becomes a creative control
- 8. Change viewpoint and orientation before changing equipment
- 9. Settings: start with the scene, not an absolute rule
- 10. CPL and editing: preserve the real forest’s tonal and color variation
- What we think
- Frequently asked questions
Autumn woodland is full of color, texture and atmosphere, but the real challenge is not finding a subject; it is organizing a complex scene so the viewer knows where to look.
In this How To, we use real field photographs to examine how leading lines, isolation, telephoto framing, fog, water, reflections and slow shutter speeds work in practice.
1. Start with lines that guide the eye
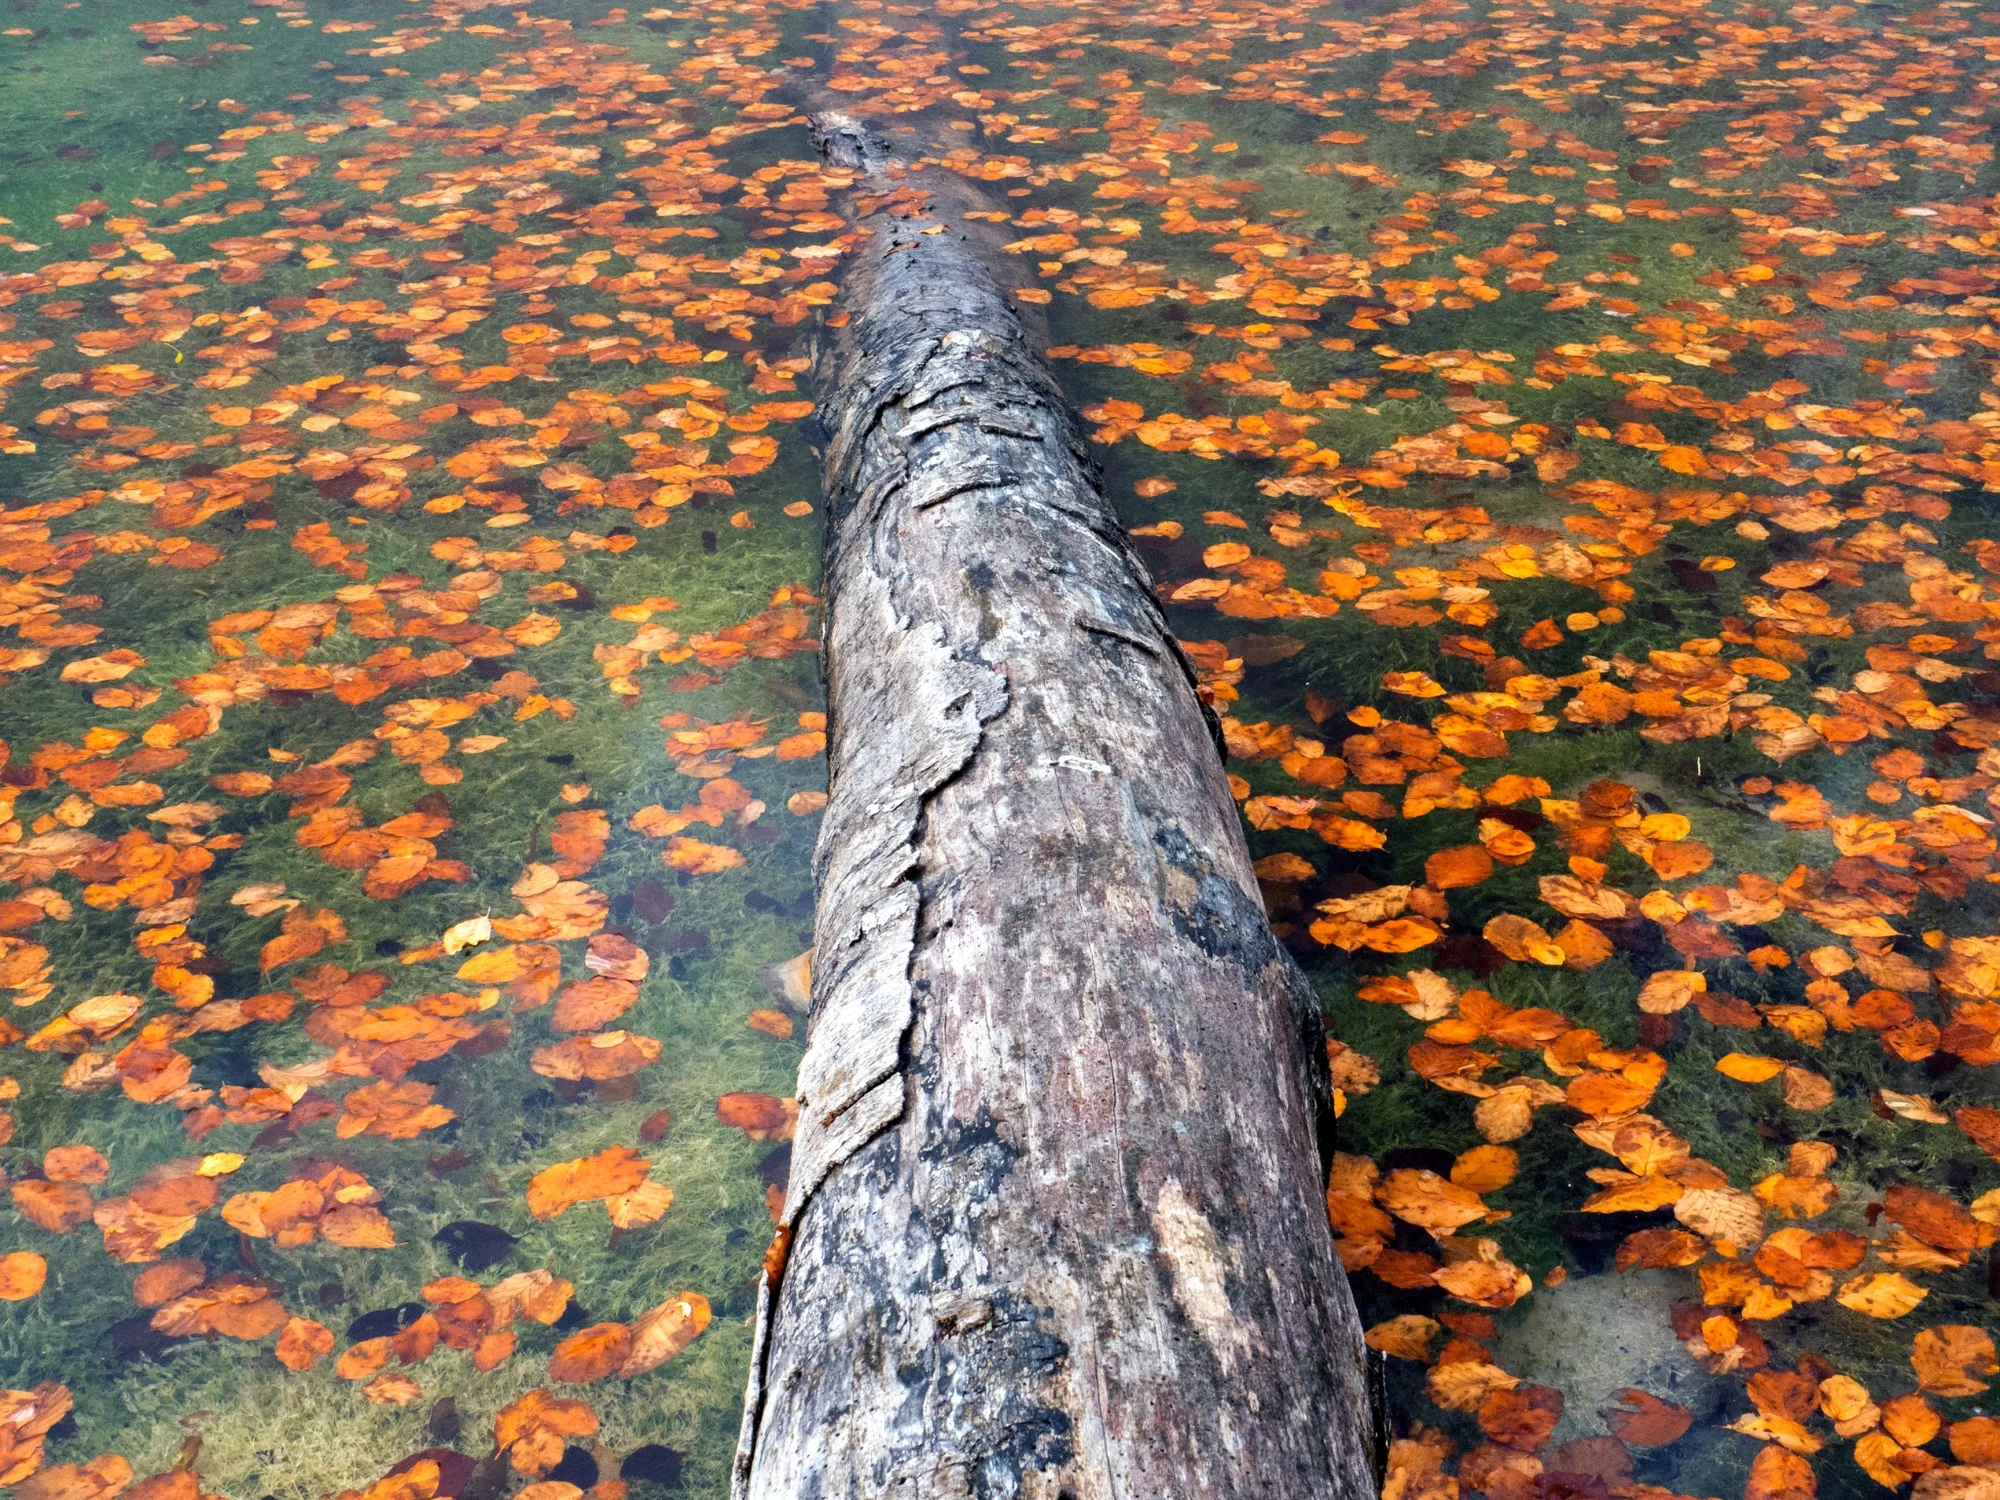
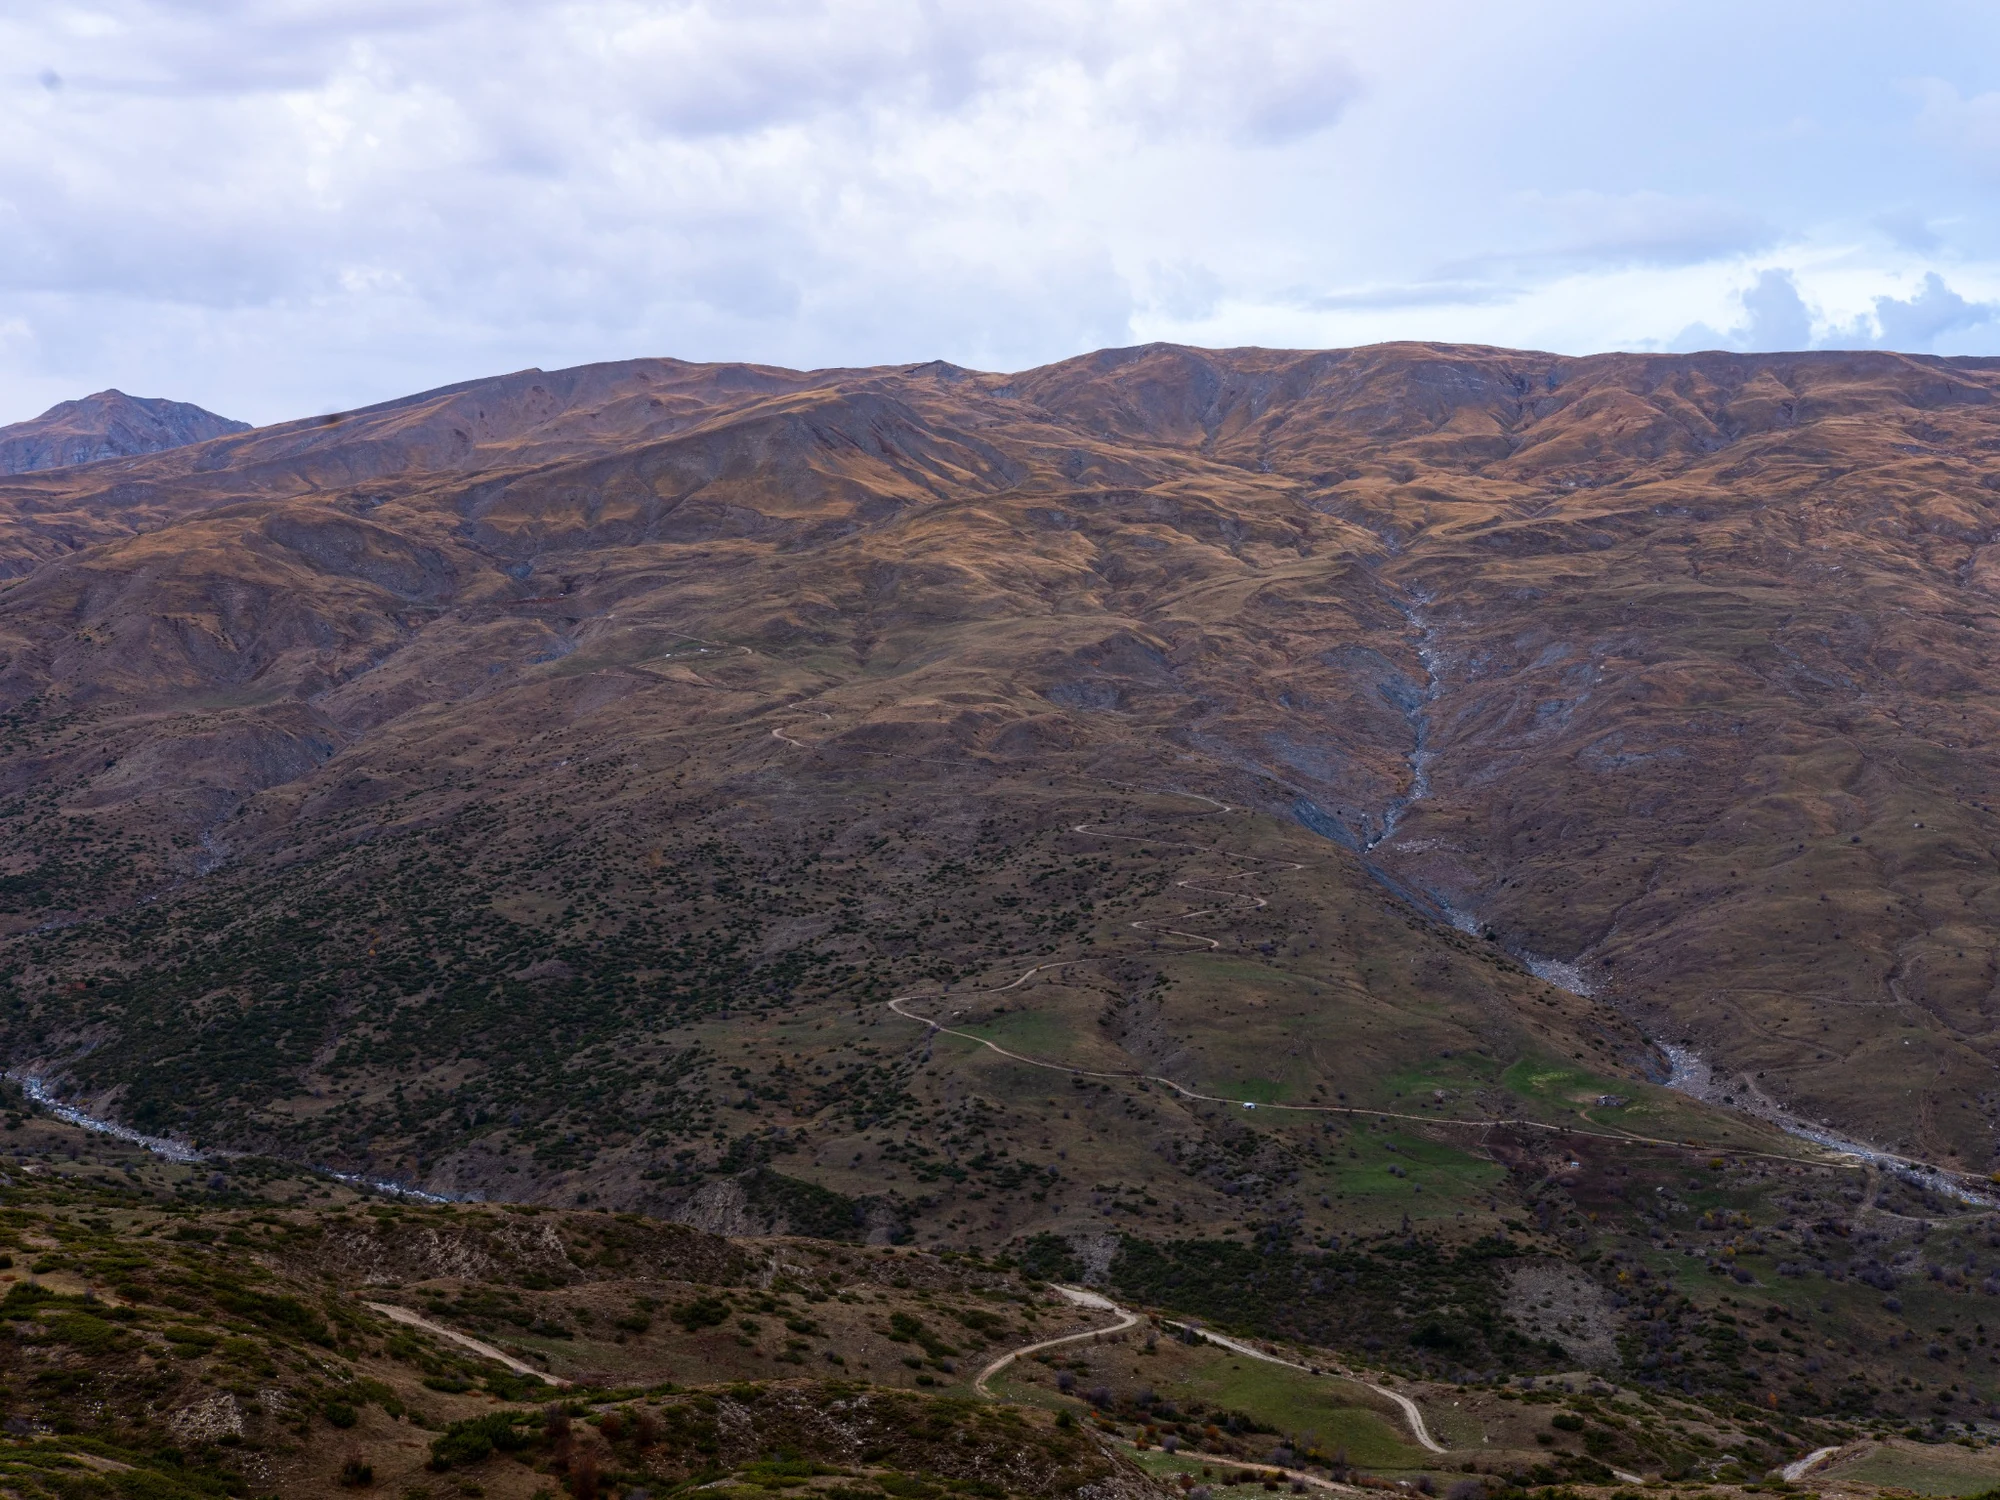
In woodland and mountain scenes, leading lines do not have to be literal footpaths. A fallen trunk, the edge of a stream or a road can all direct the viewer through the frame. Identify that path first, then arrange the remaining elements around it.
Before pressing the shutter, inspect the edges of the frame. A bright trunk, rock or branch can pull attention away from the subject, and a small change in position or camera height is often enough to clean up the composition.
2. Simplify: isolate one tree instead of photographing the whole forest
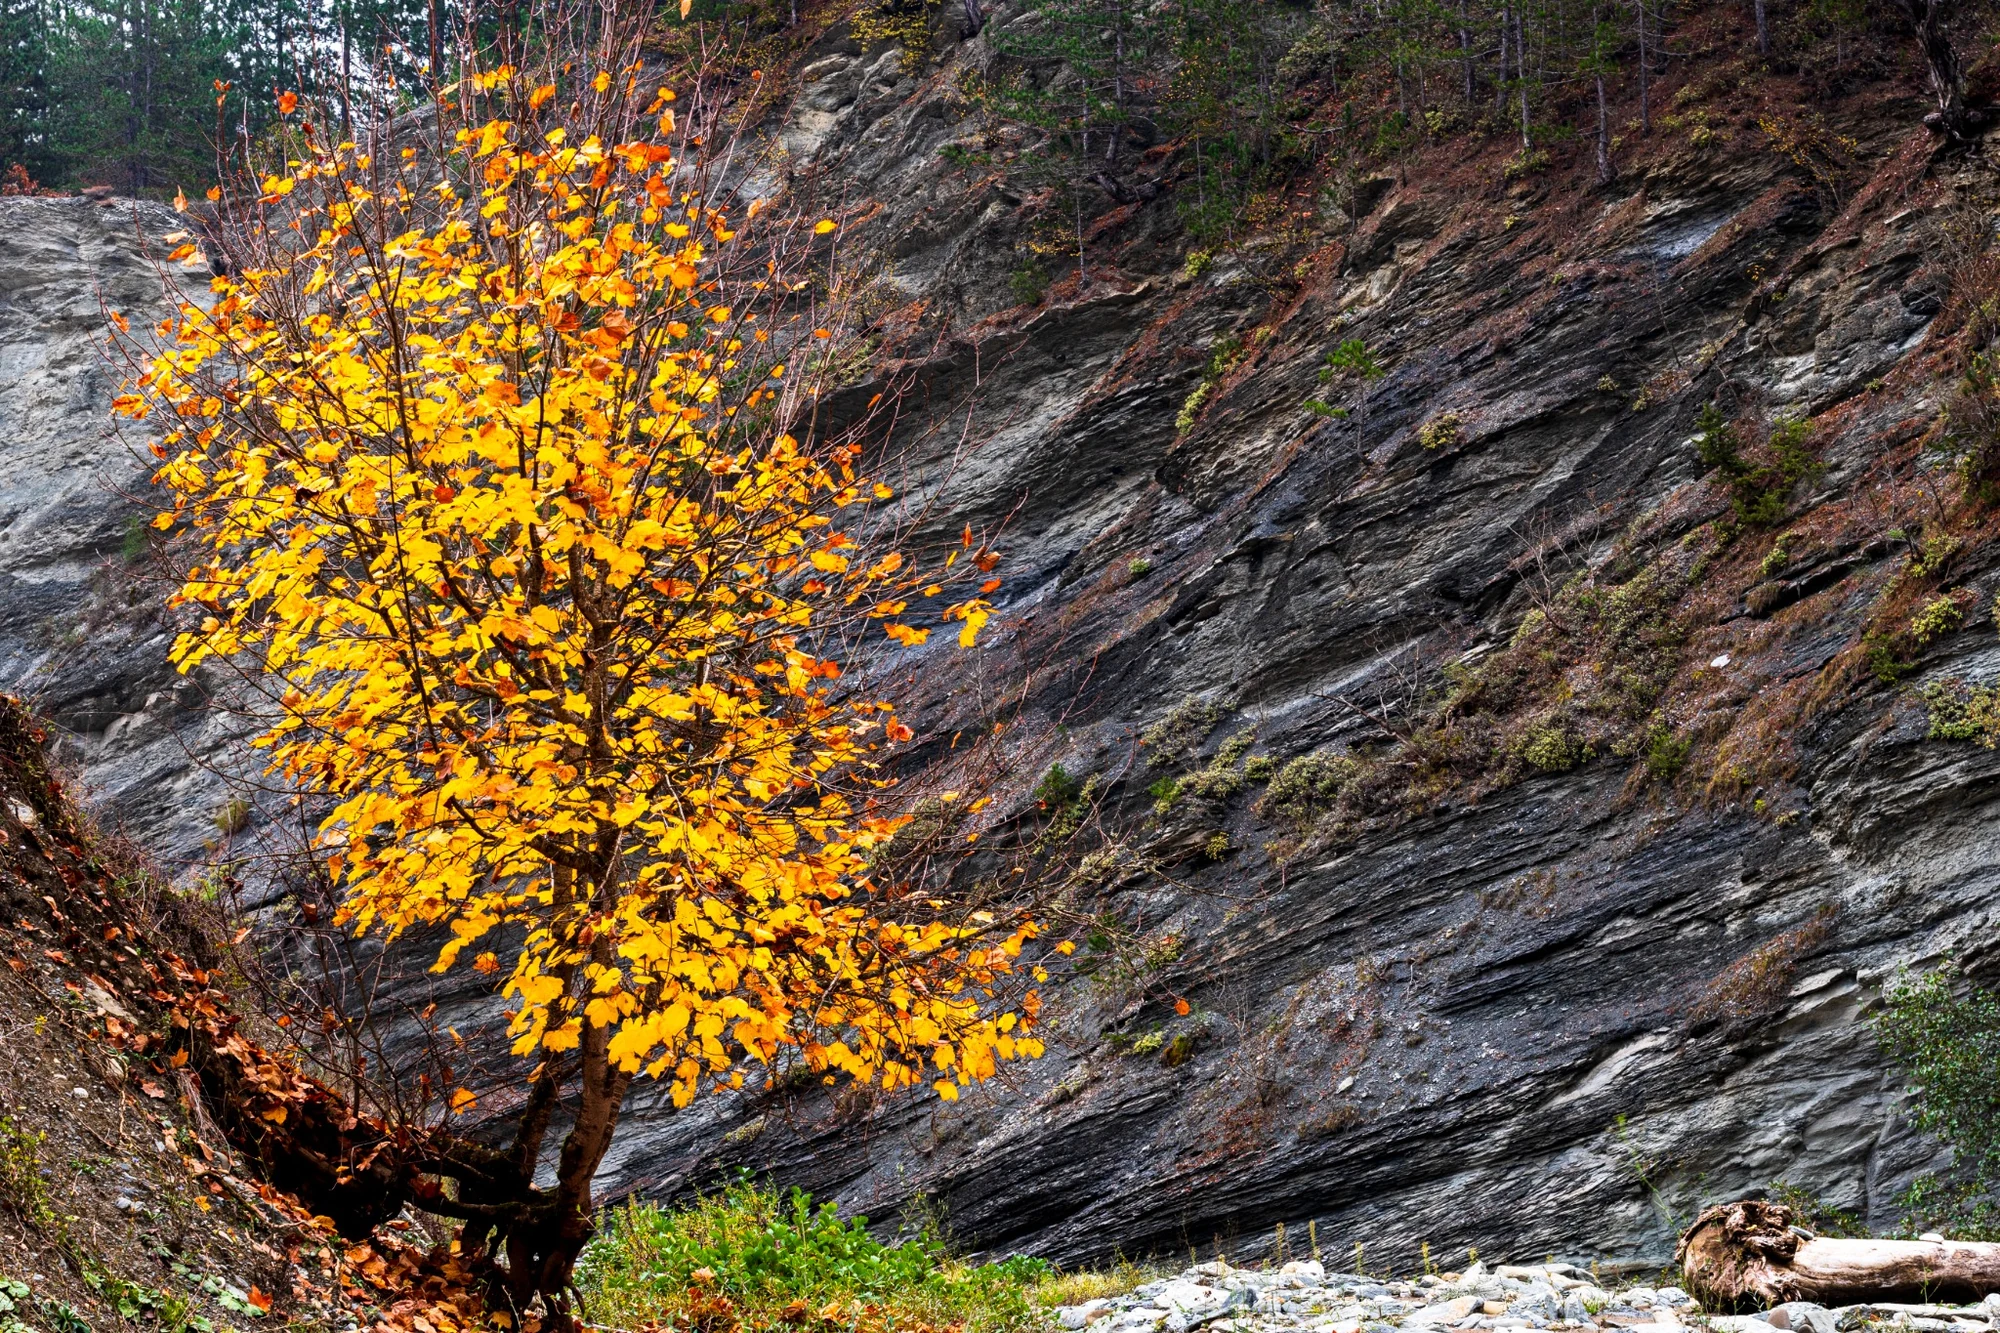
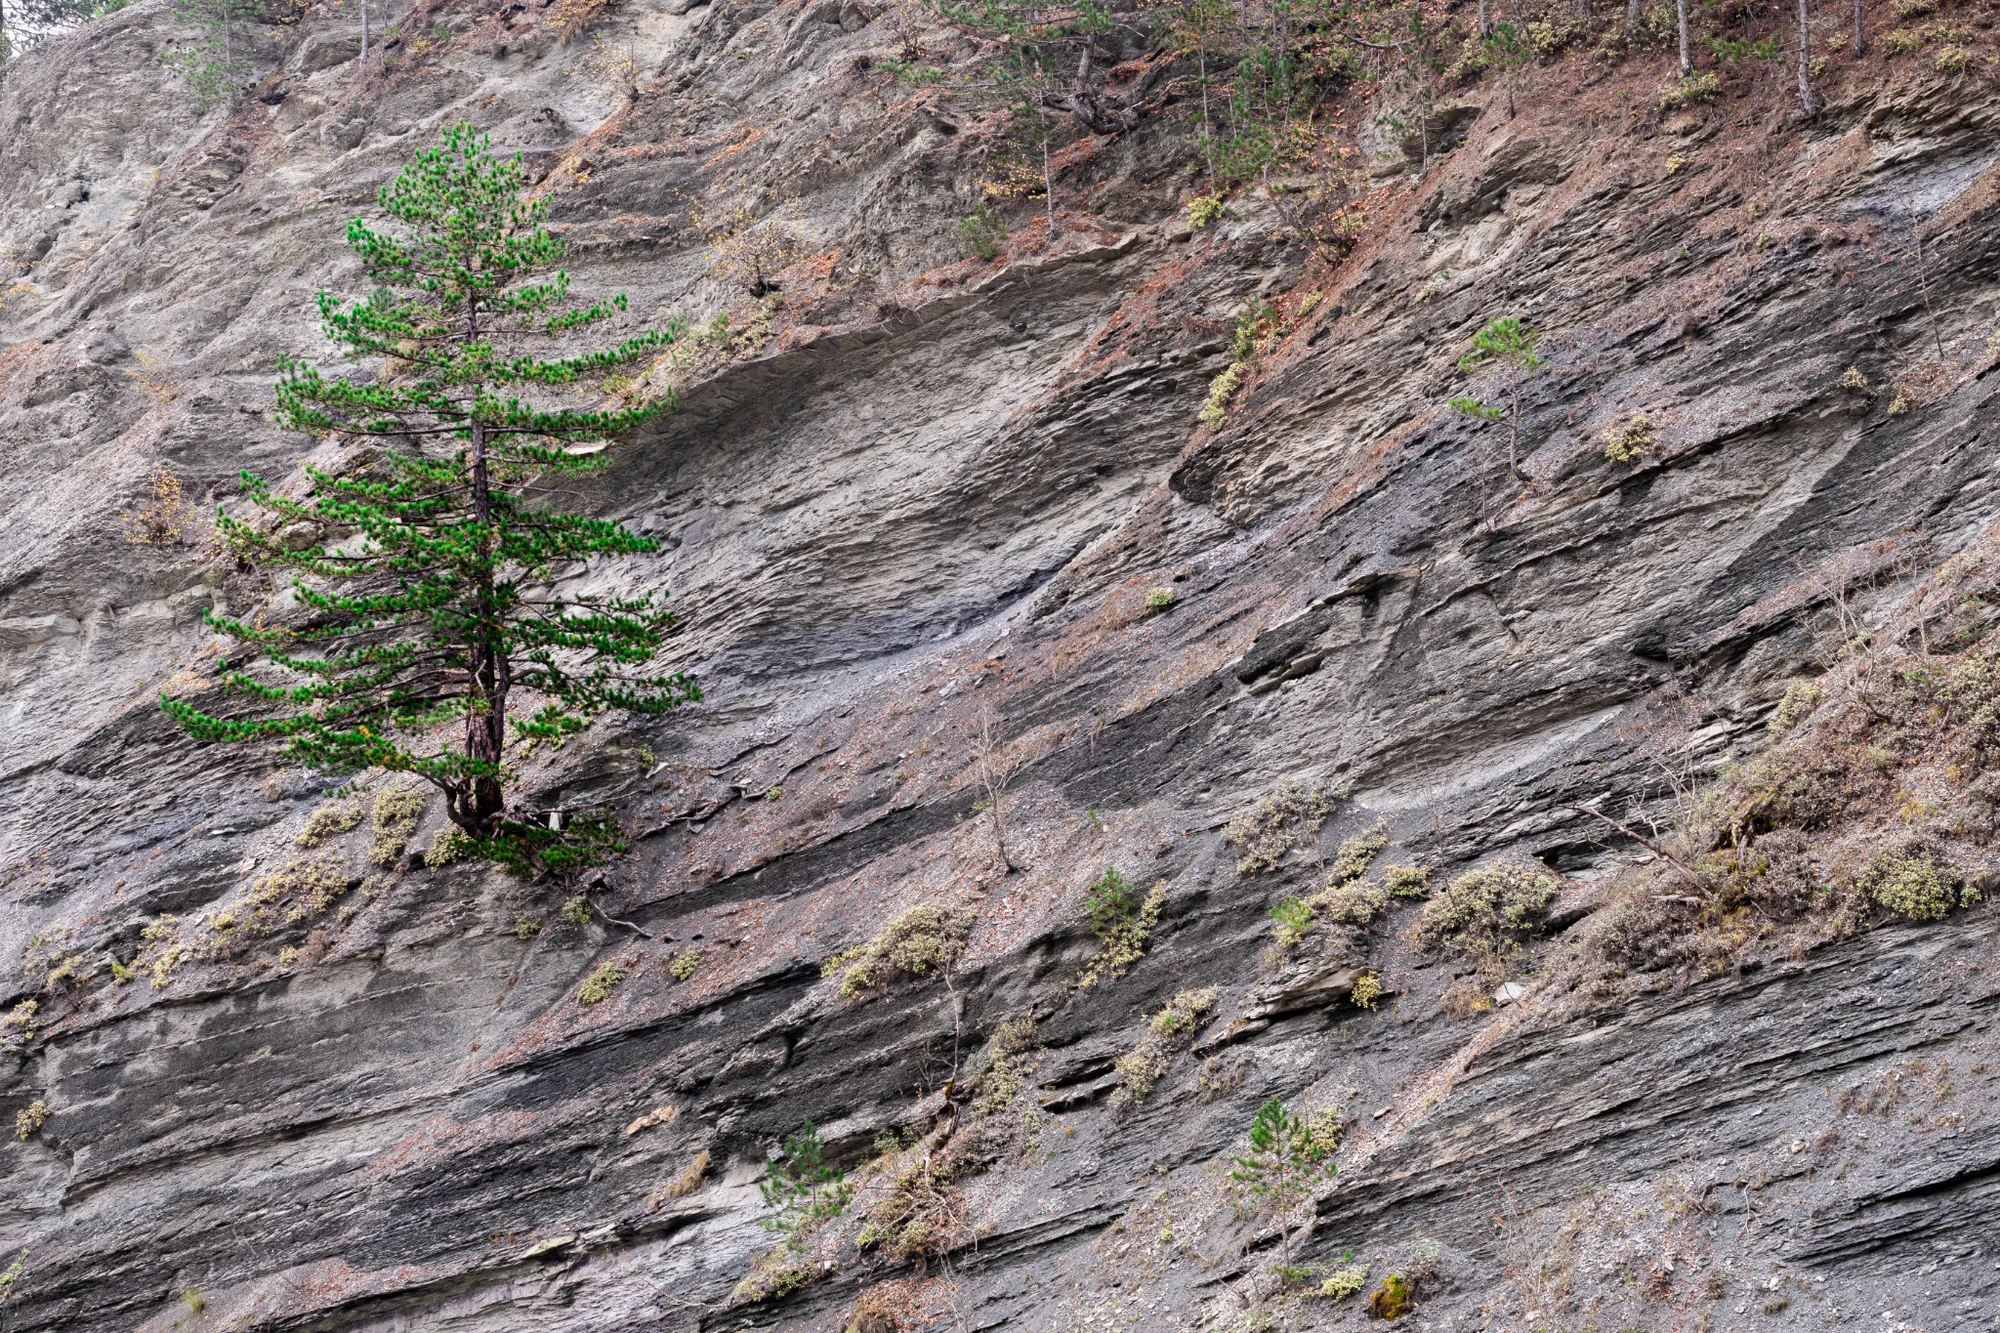
One of the most useful decisions in autumn woodland photography is not to show everything. A tree with a different color, a trunk or a distinctive shape can be enough to support the entire photograph.
A standard zoom and especially a telephoto lens are valuable here. The narrower angle of view removes distractions and helps create cleaner relationships between subject and background.
3. Use color as a point of attention, not as an end in itself
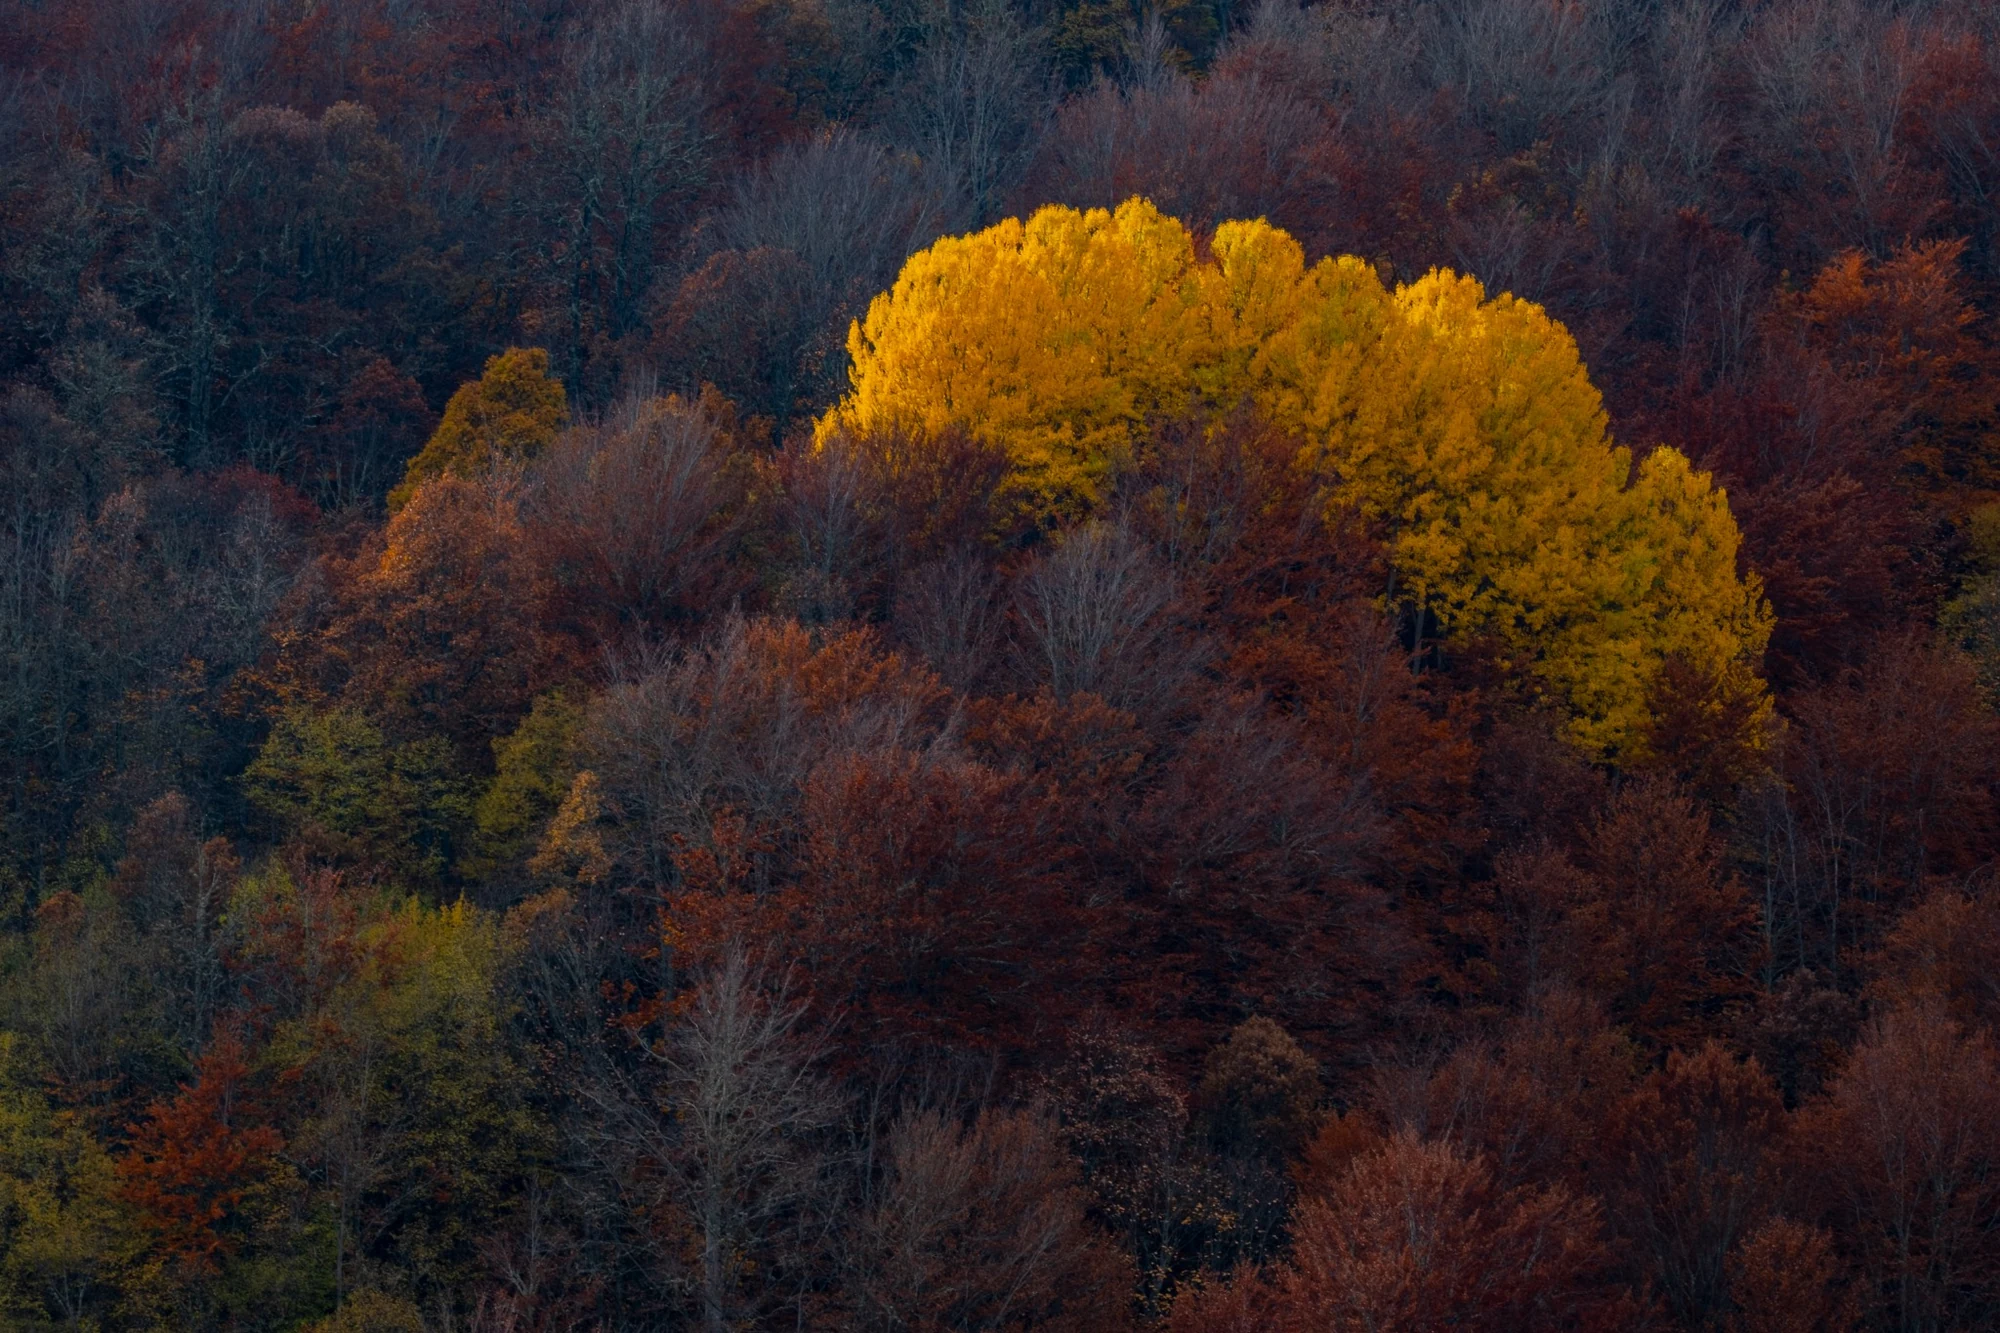
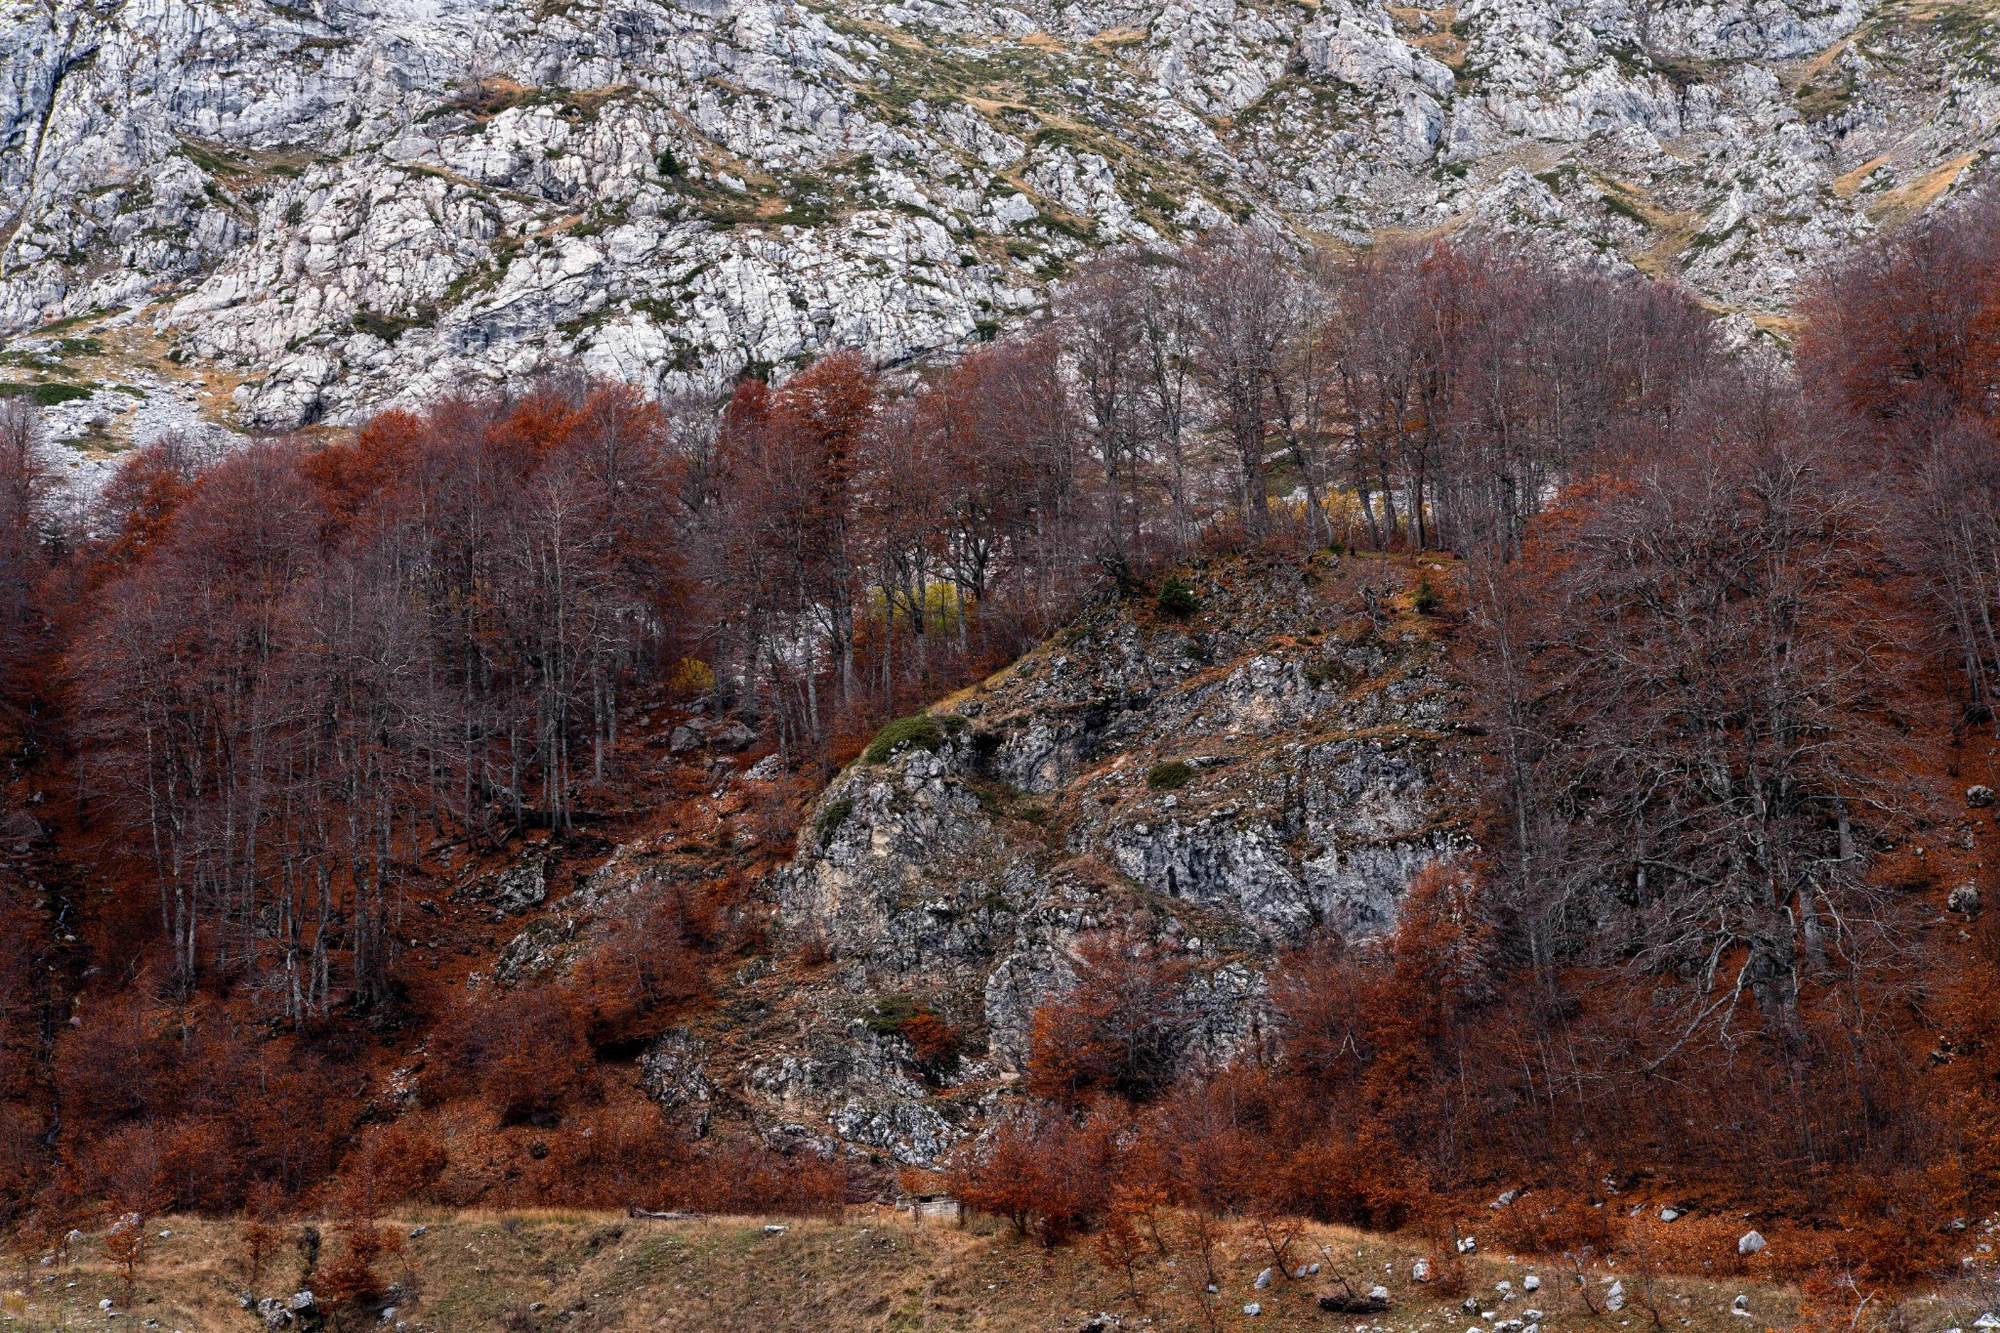
Autumn makes it easy to fill the frame with orange and red, but contrast is often more effective. A yellow tree in darker woodland, or warm foliage against neutral rock, creates hierarchy without relying on excessive saturation.
Once the viewer already knows where to look, post-processing can stay more restrained and natural.
4. Fog is a ready-made tool for layers and simplification
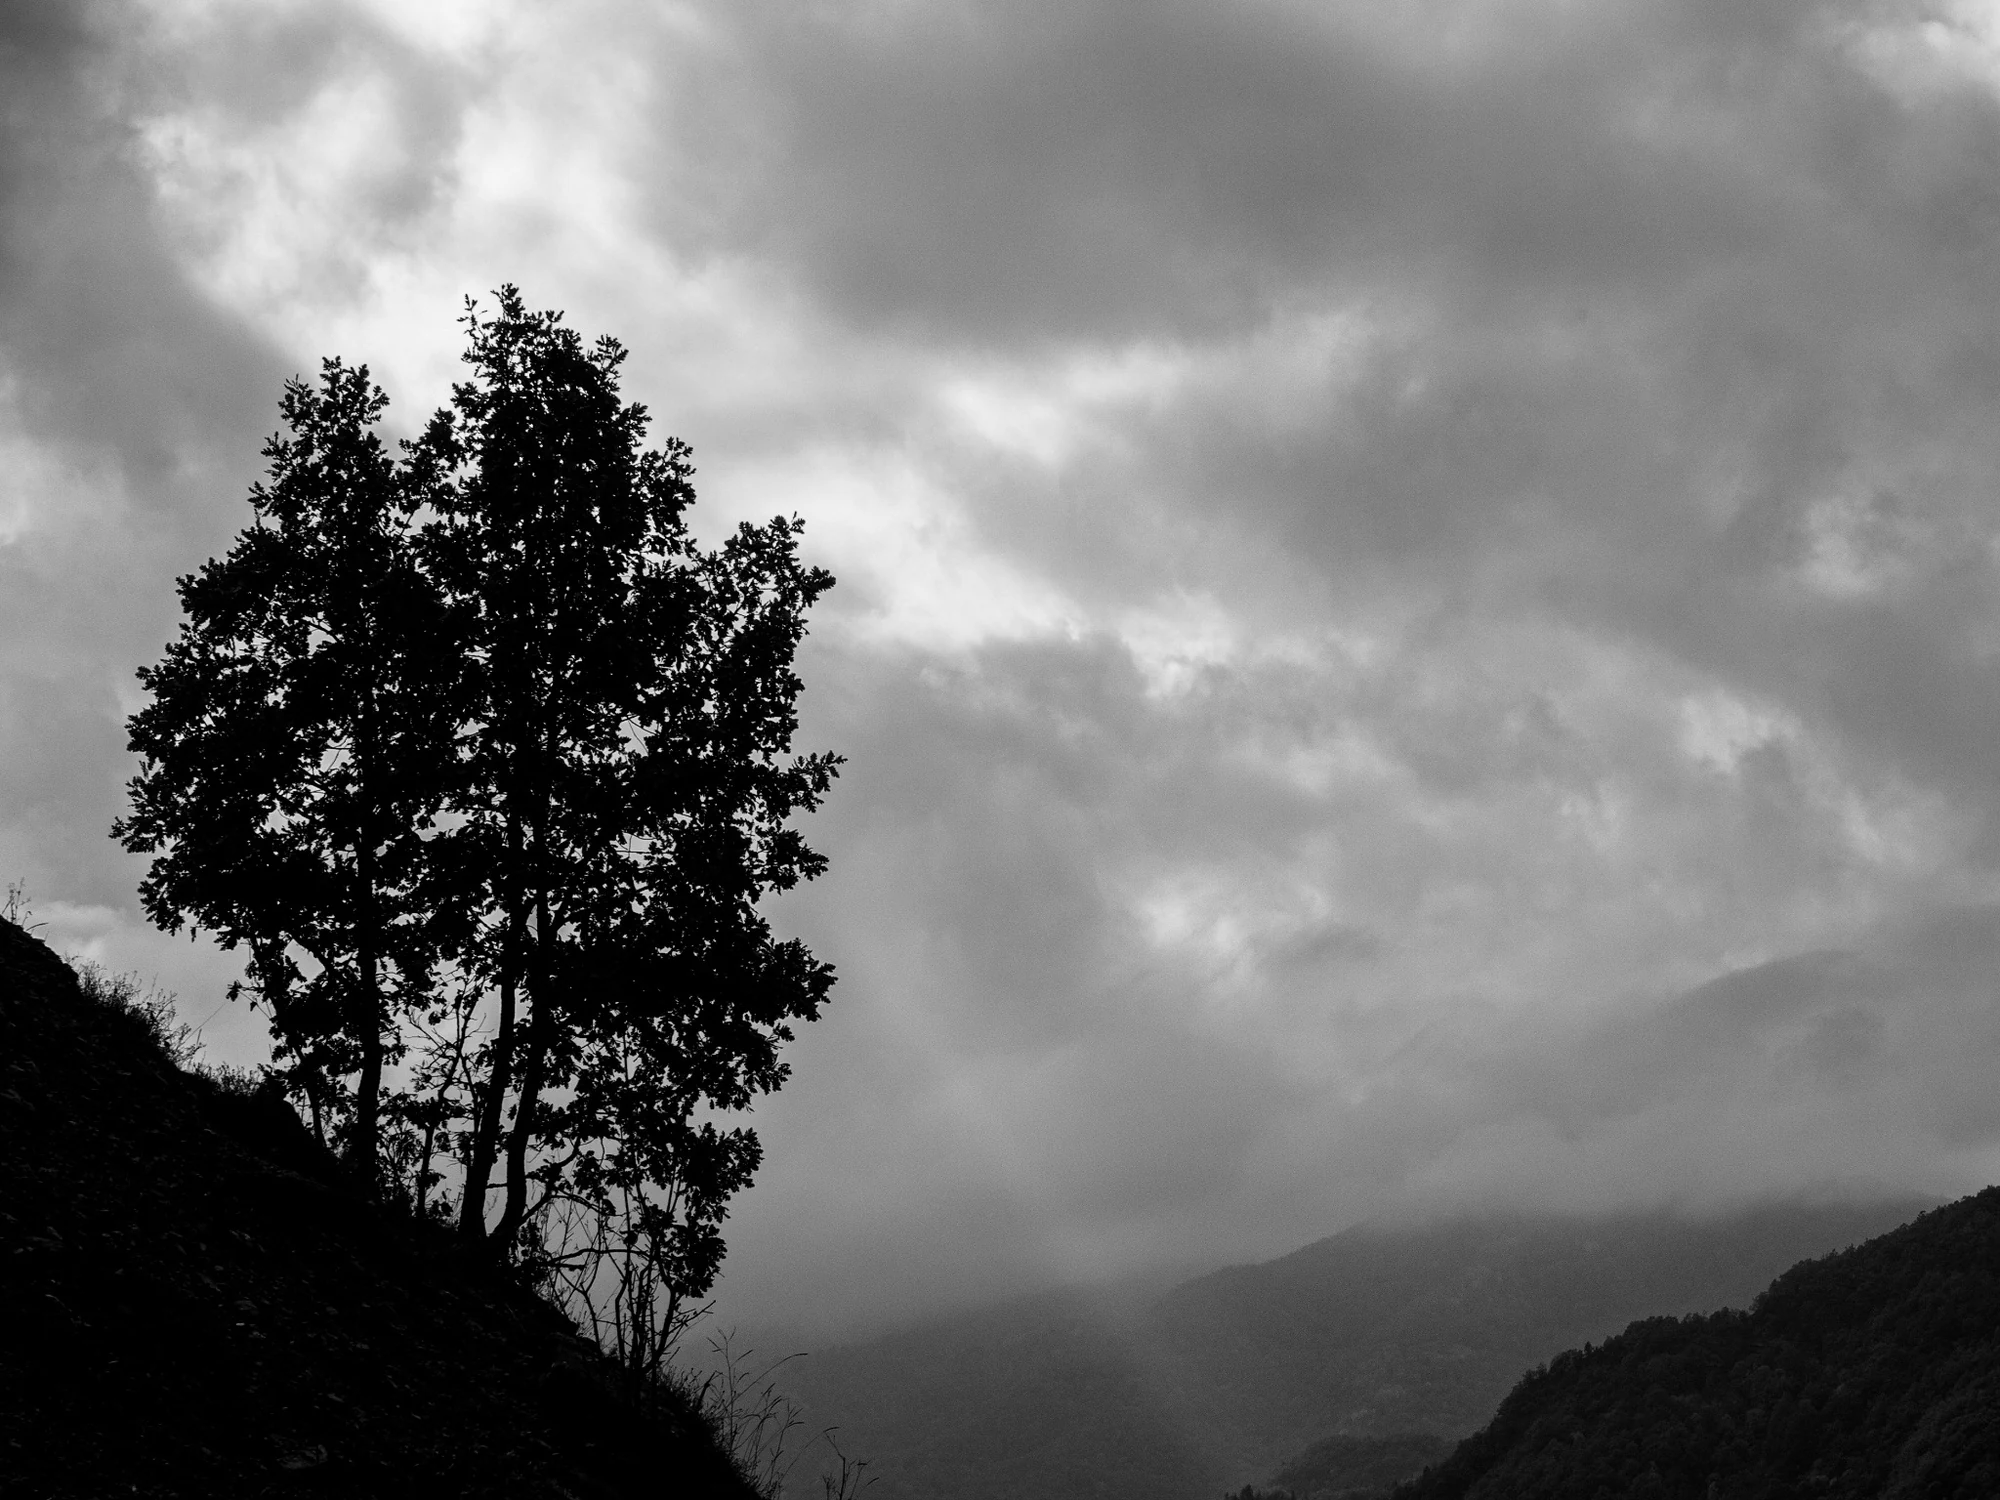
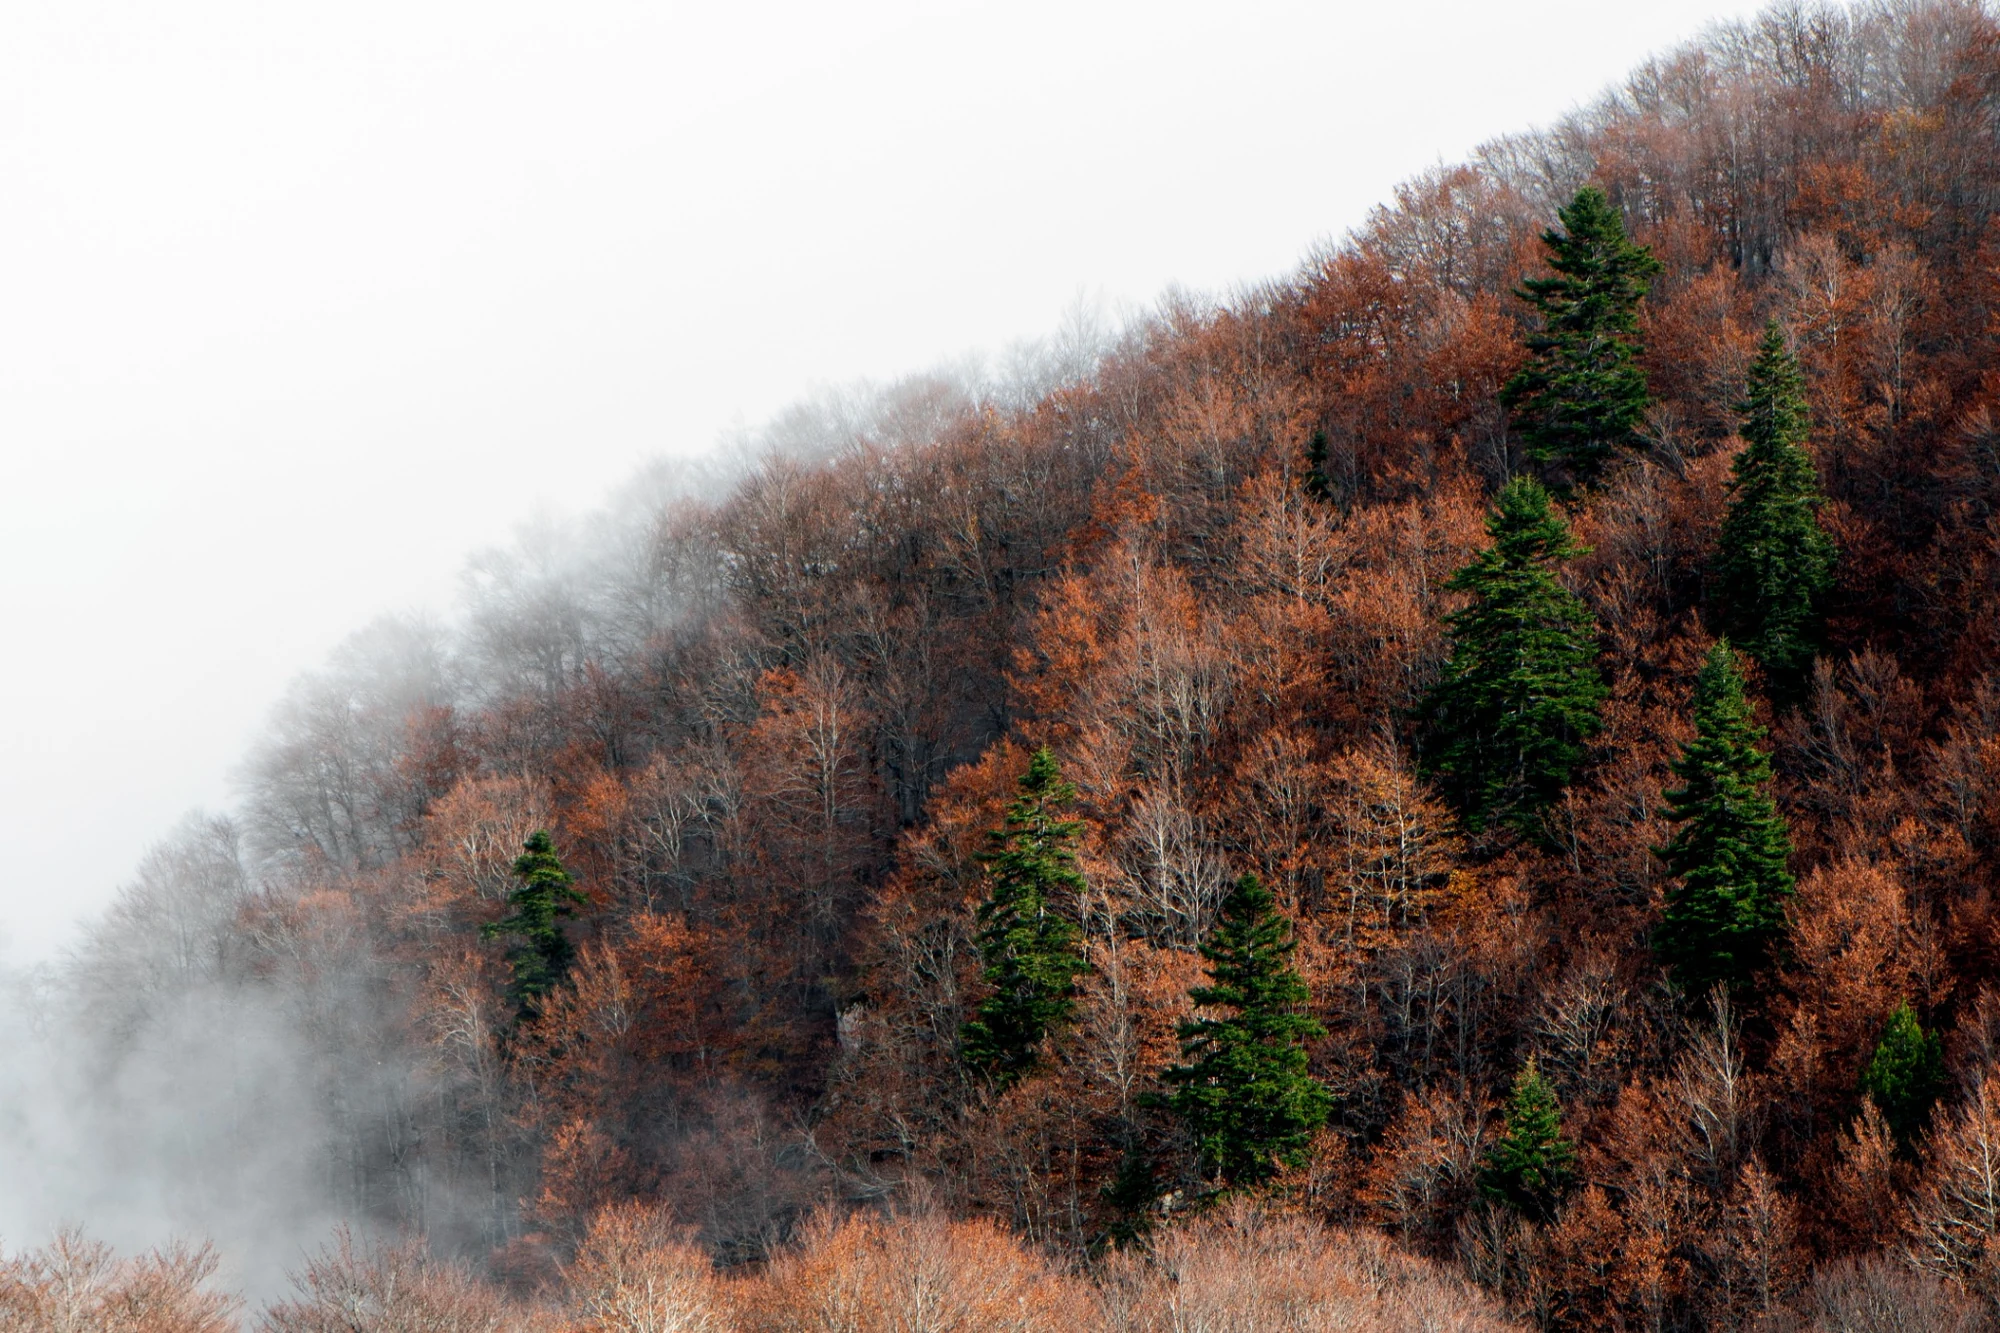
Fog does something we often try to achieve through composition alone: it removes detail from the background. As distance increases, contrast falls and the layers separate more clearly.
Do not assume autumn photography must always be colorful. A silhouette or even a monochrome approach can work when atmosphere, shape and weather are the real subject.
5. With a telephoto lens, look for repetition and patterns
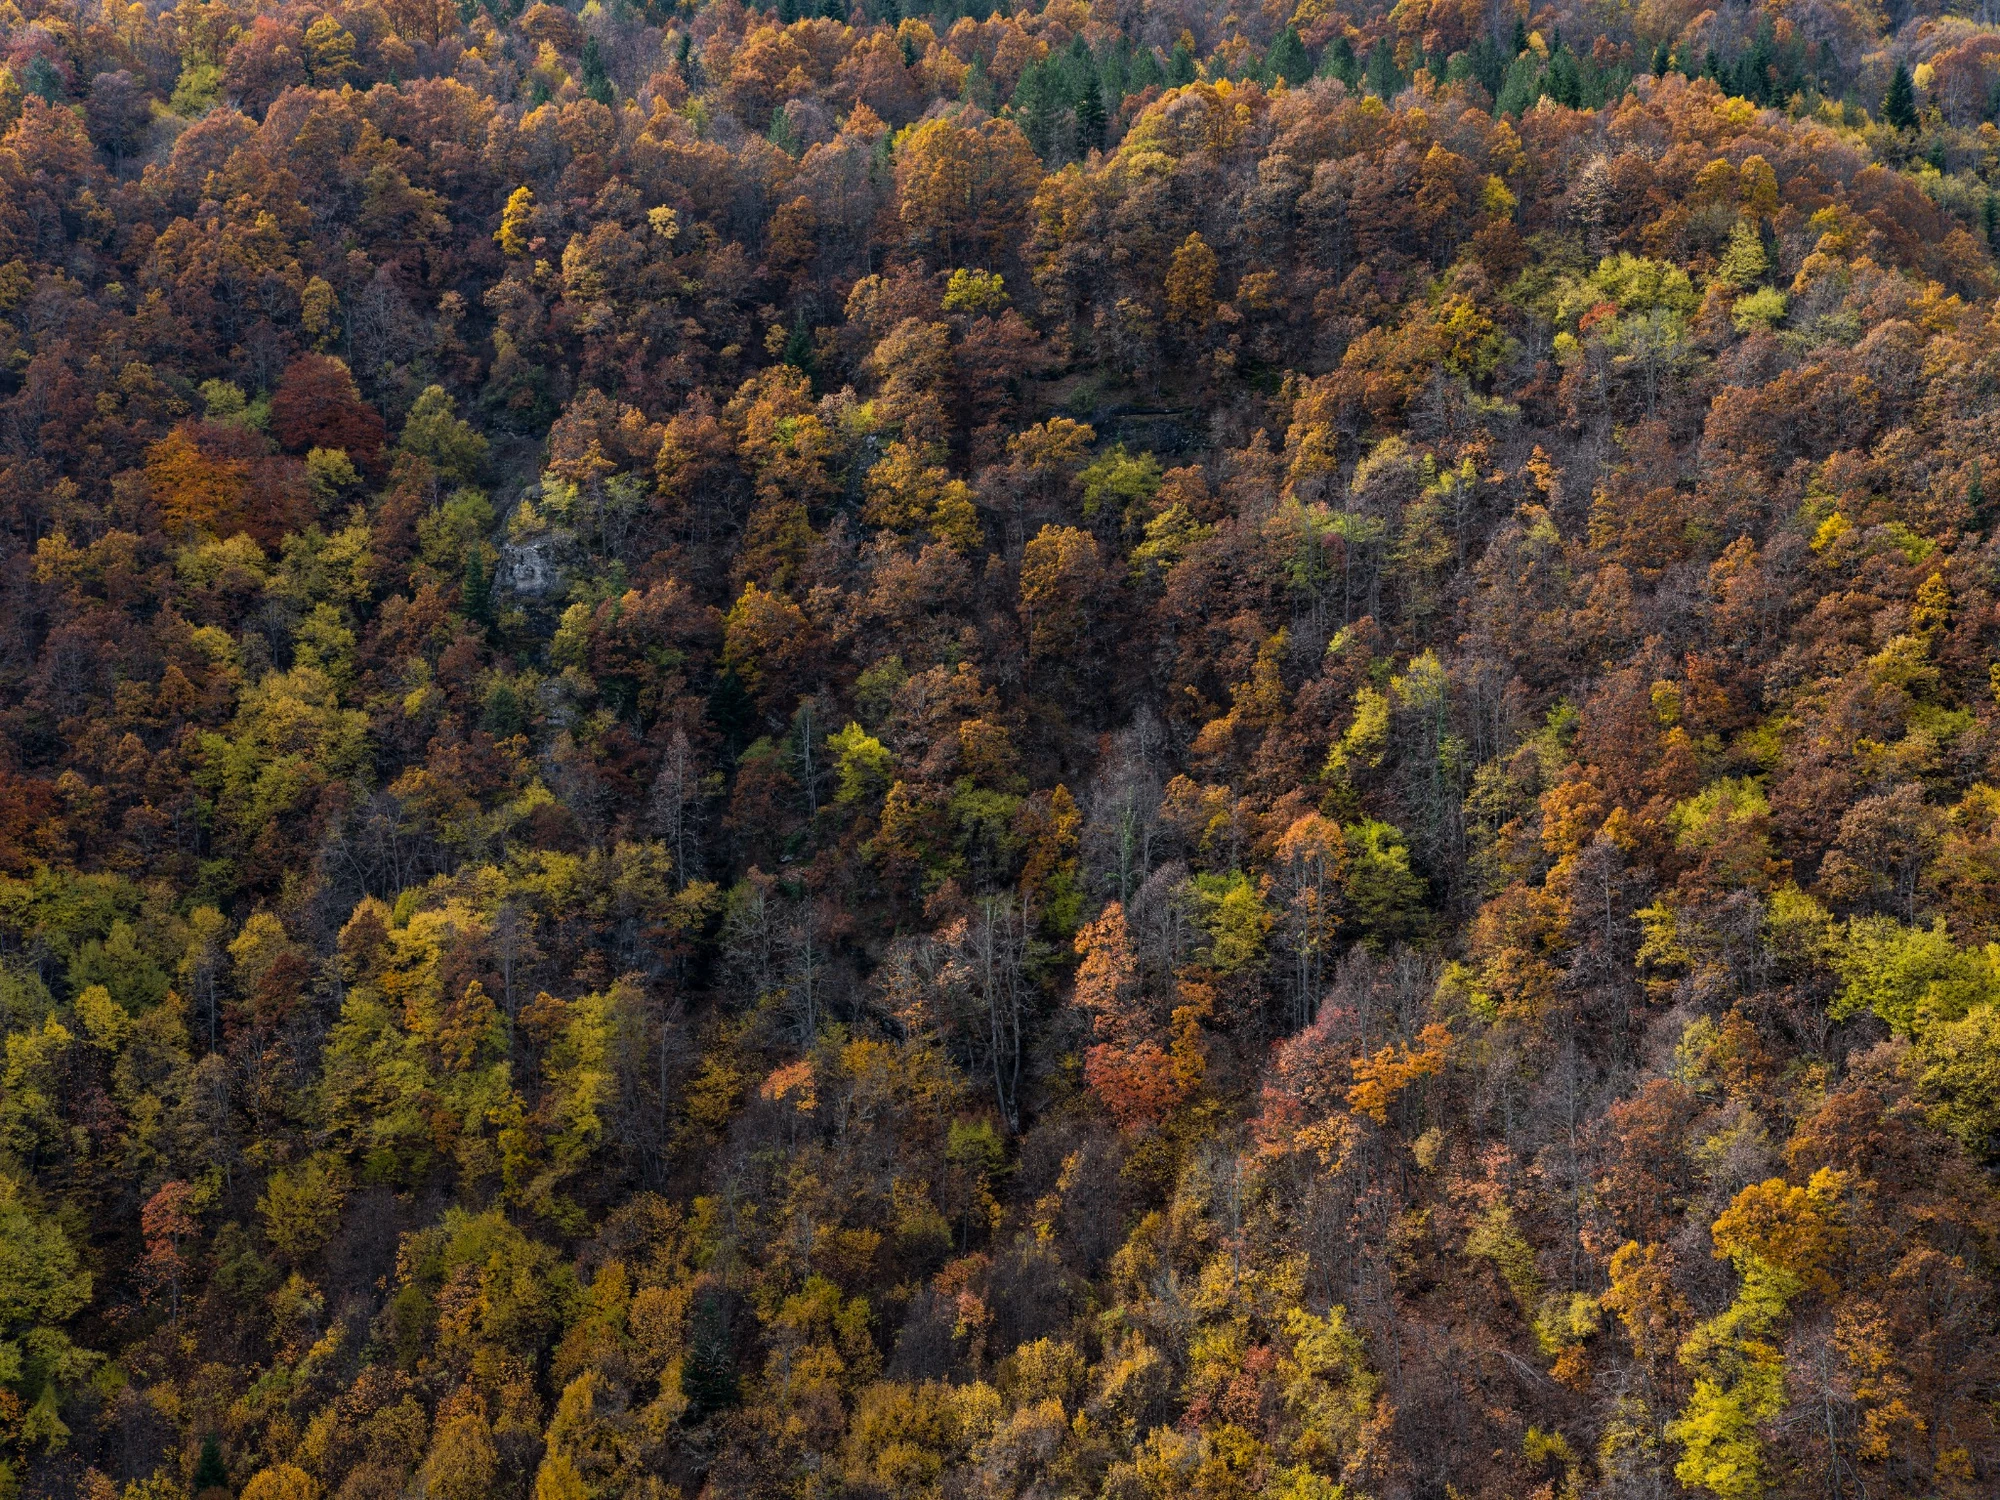
From a distant viewpoint, woodland stops being a collection of individual trees and becomes a pattern of color, treetops and texture. A telephoto lens or tighter crop helps remove sky and unrelated ground so the repetition becomes the subject.
Look for a small exception inside the pattern—a brighter tree, a color shift or an opening. That can become the visual anchor.
6. With reflections, decide what is subject and what is background
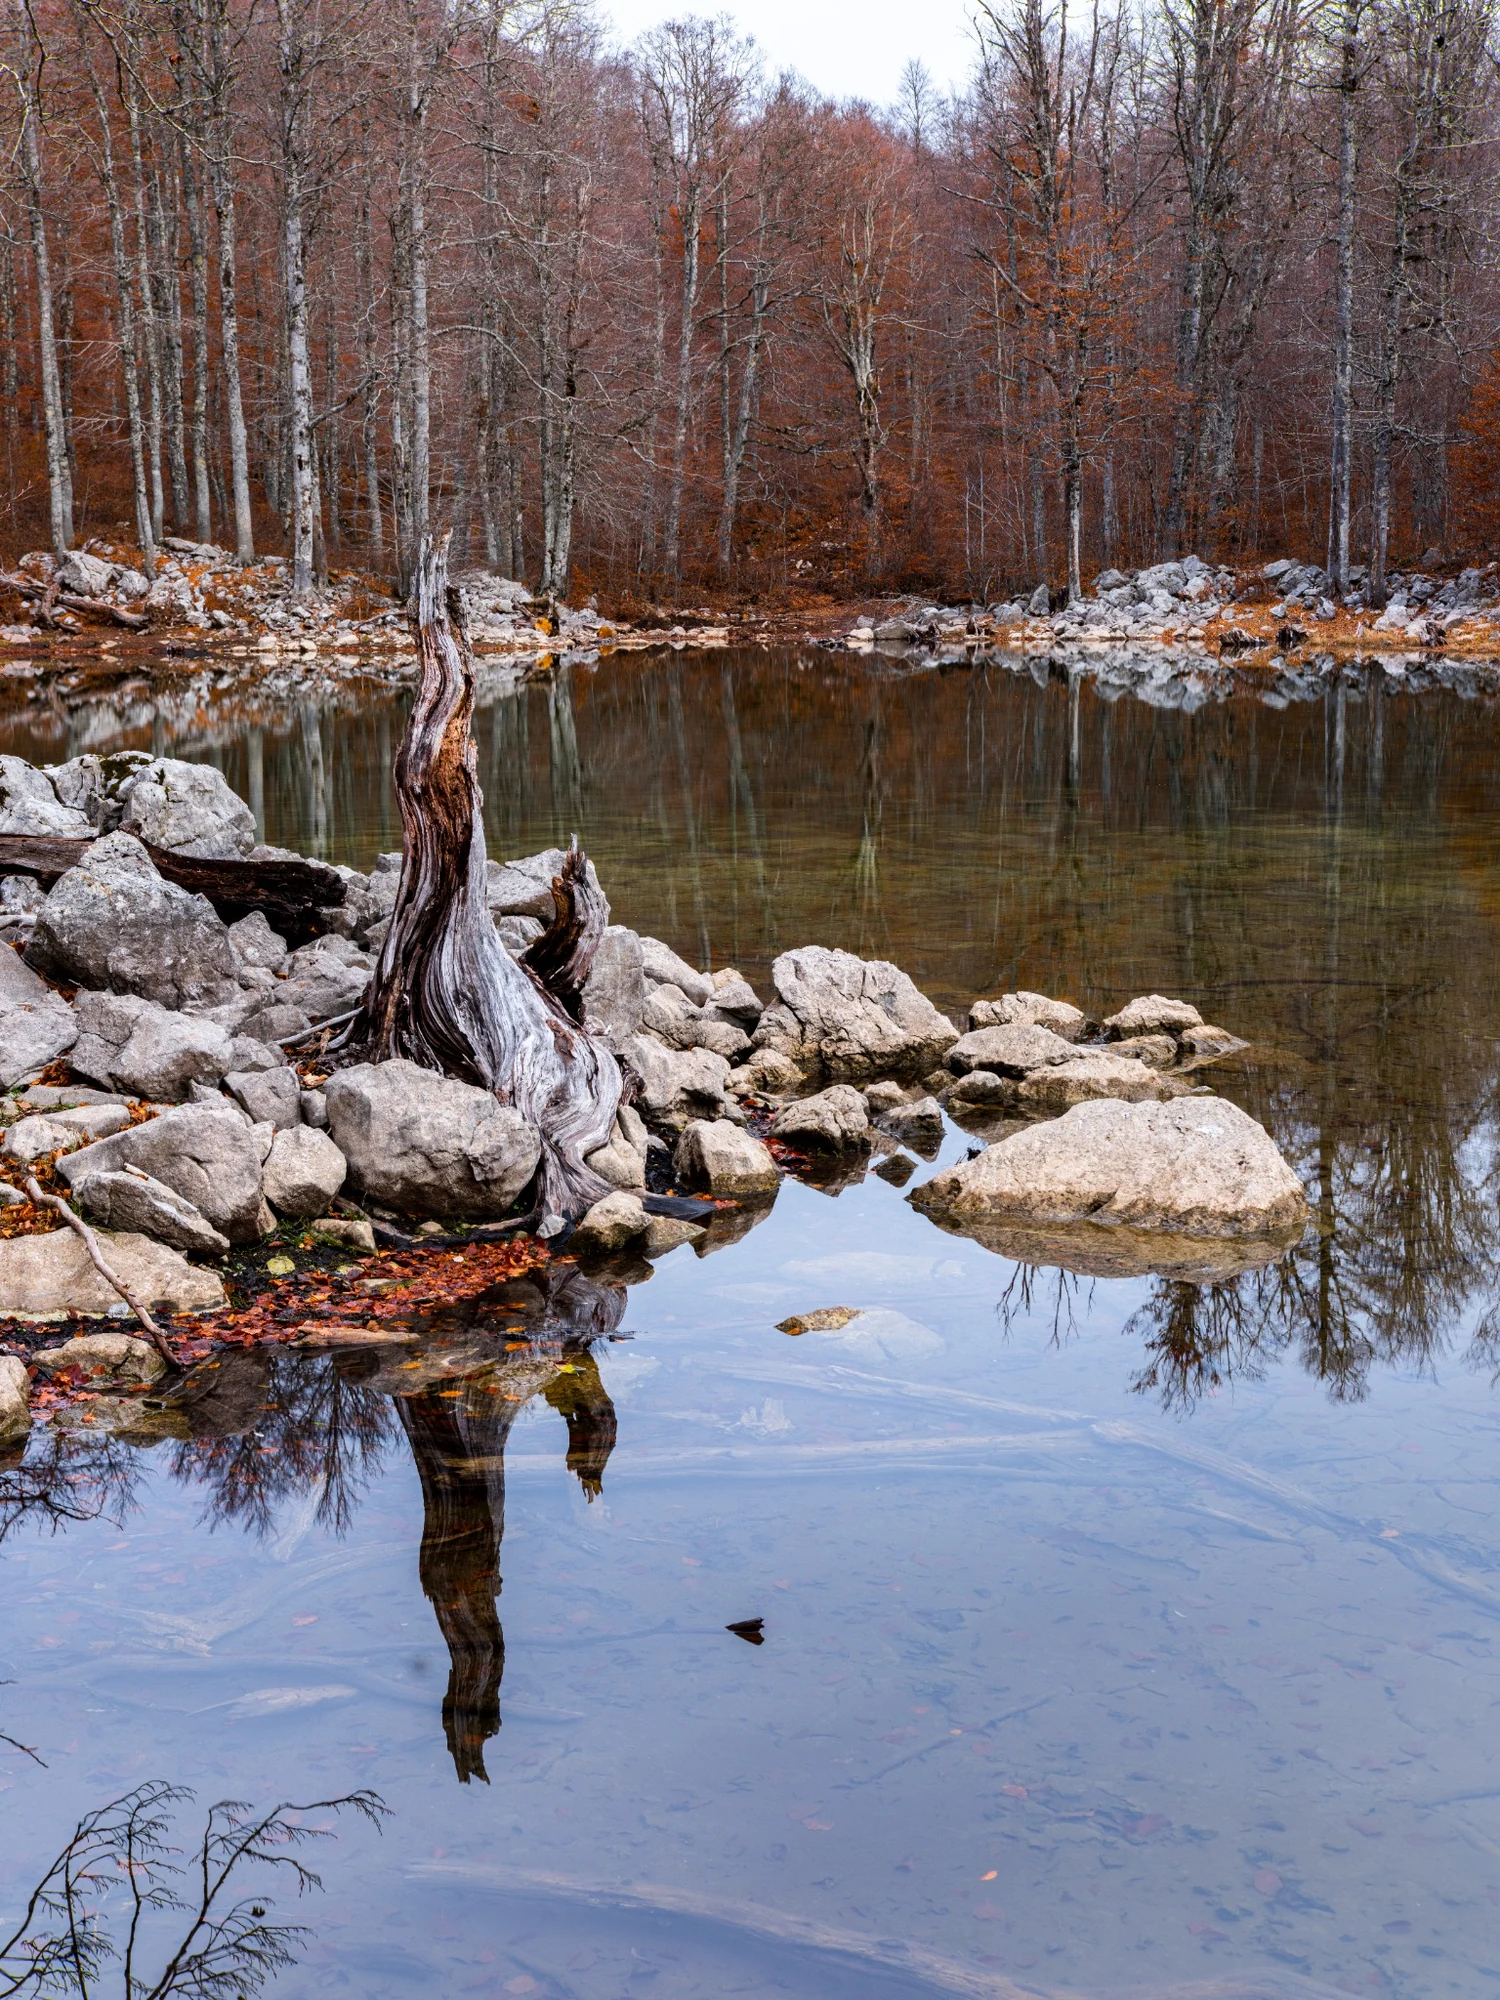
In calm water, a reflection is not just a detail; it can be the subject itself. Change camera height and decide how much of the real forest and how much of its reflection you want to include.
This is where a CPL requires care. A polarizer can reduce reflections, which is useful when you want to see into the water but counterproductive when the reflection is a key part of the composition.
7. With moving water, shutter speed becomes a creative control
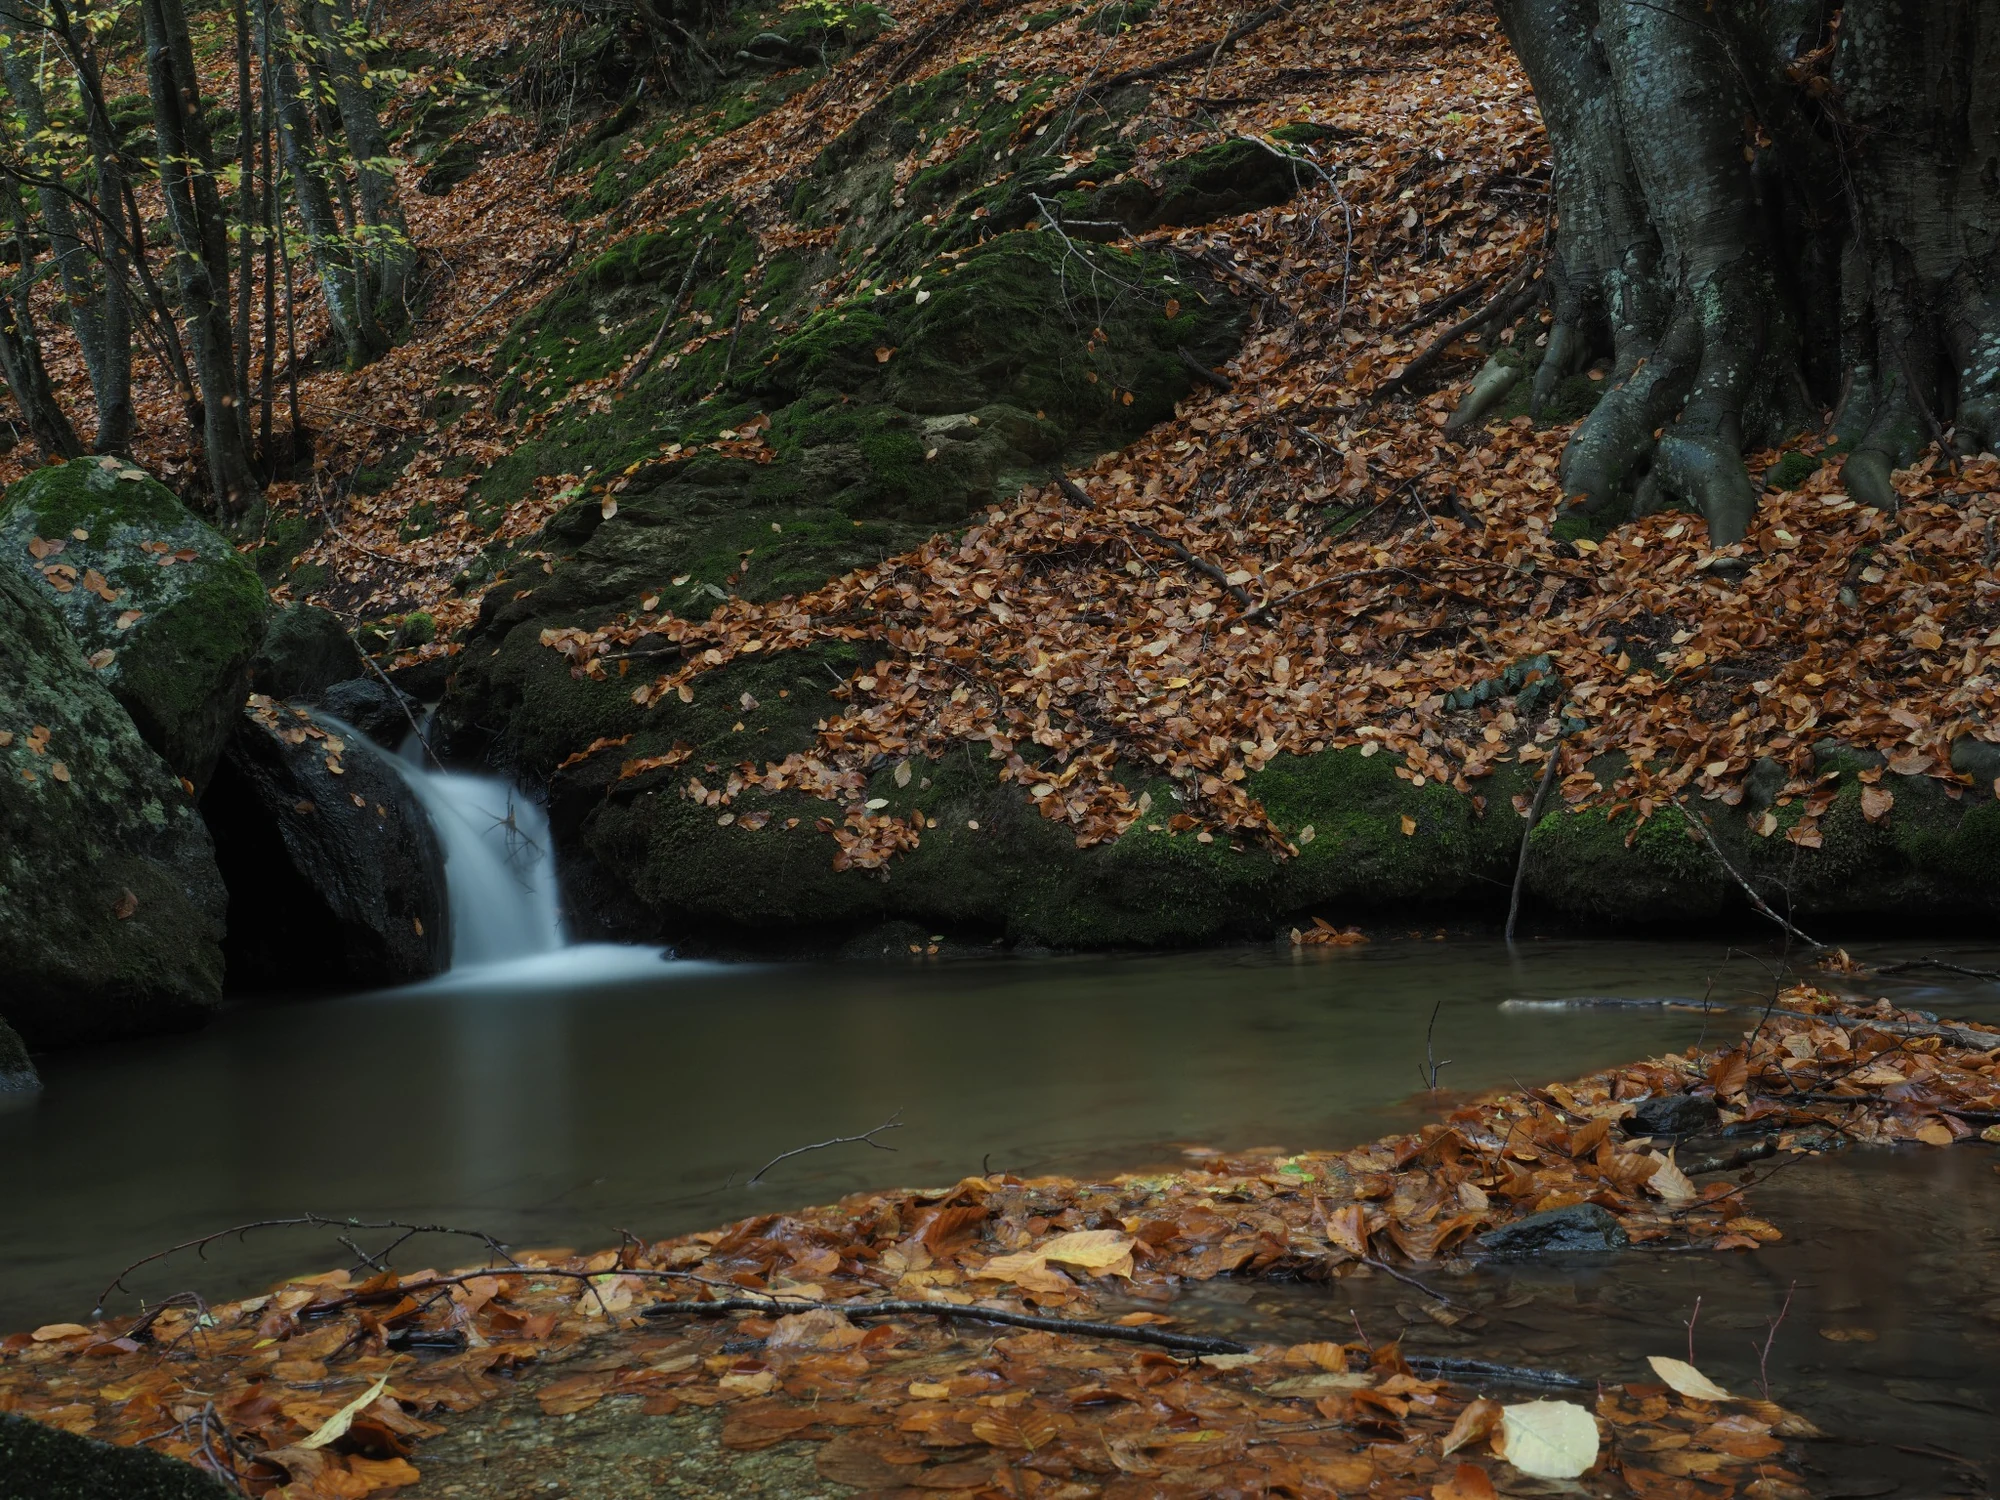
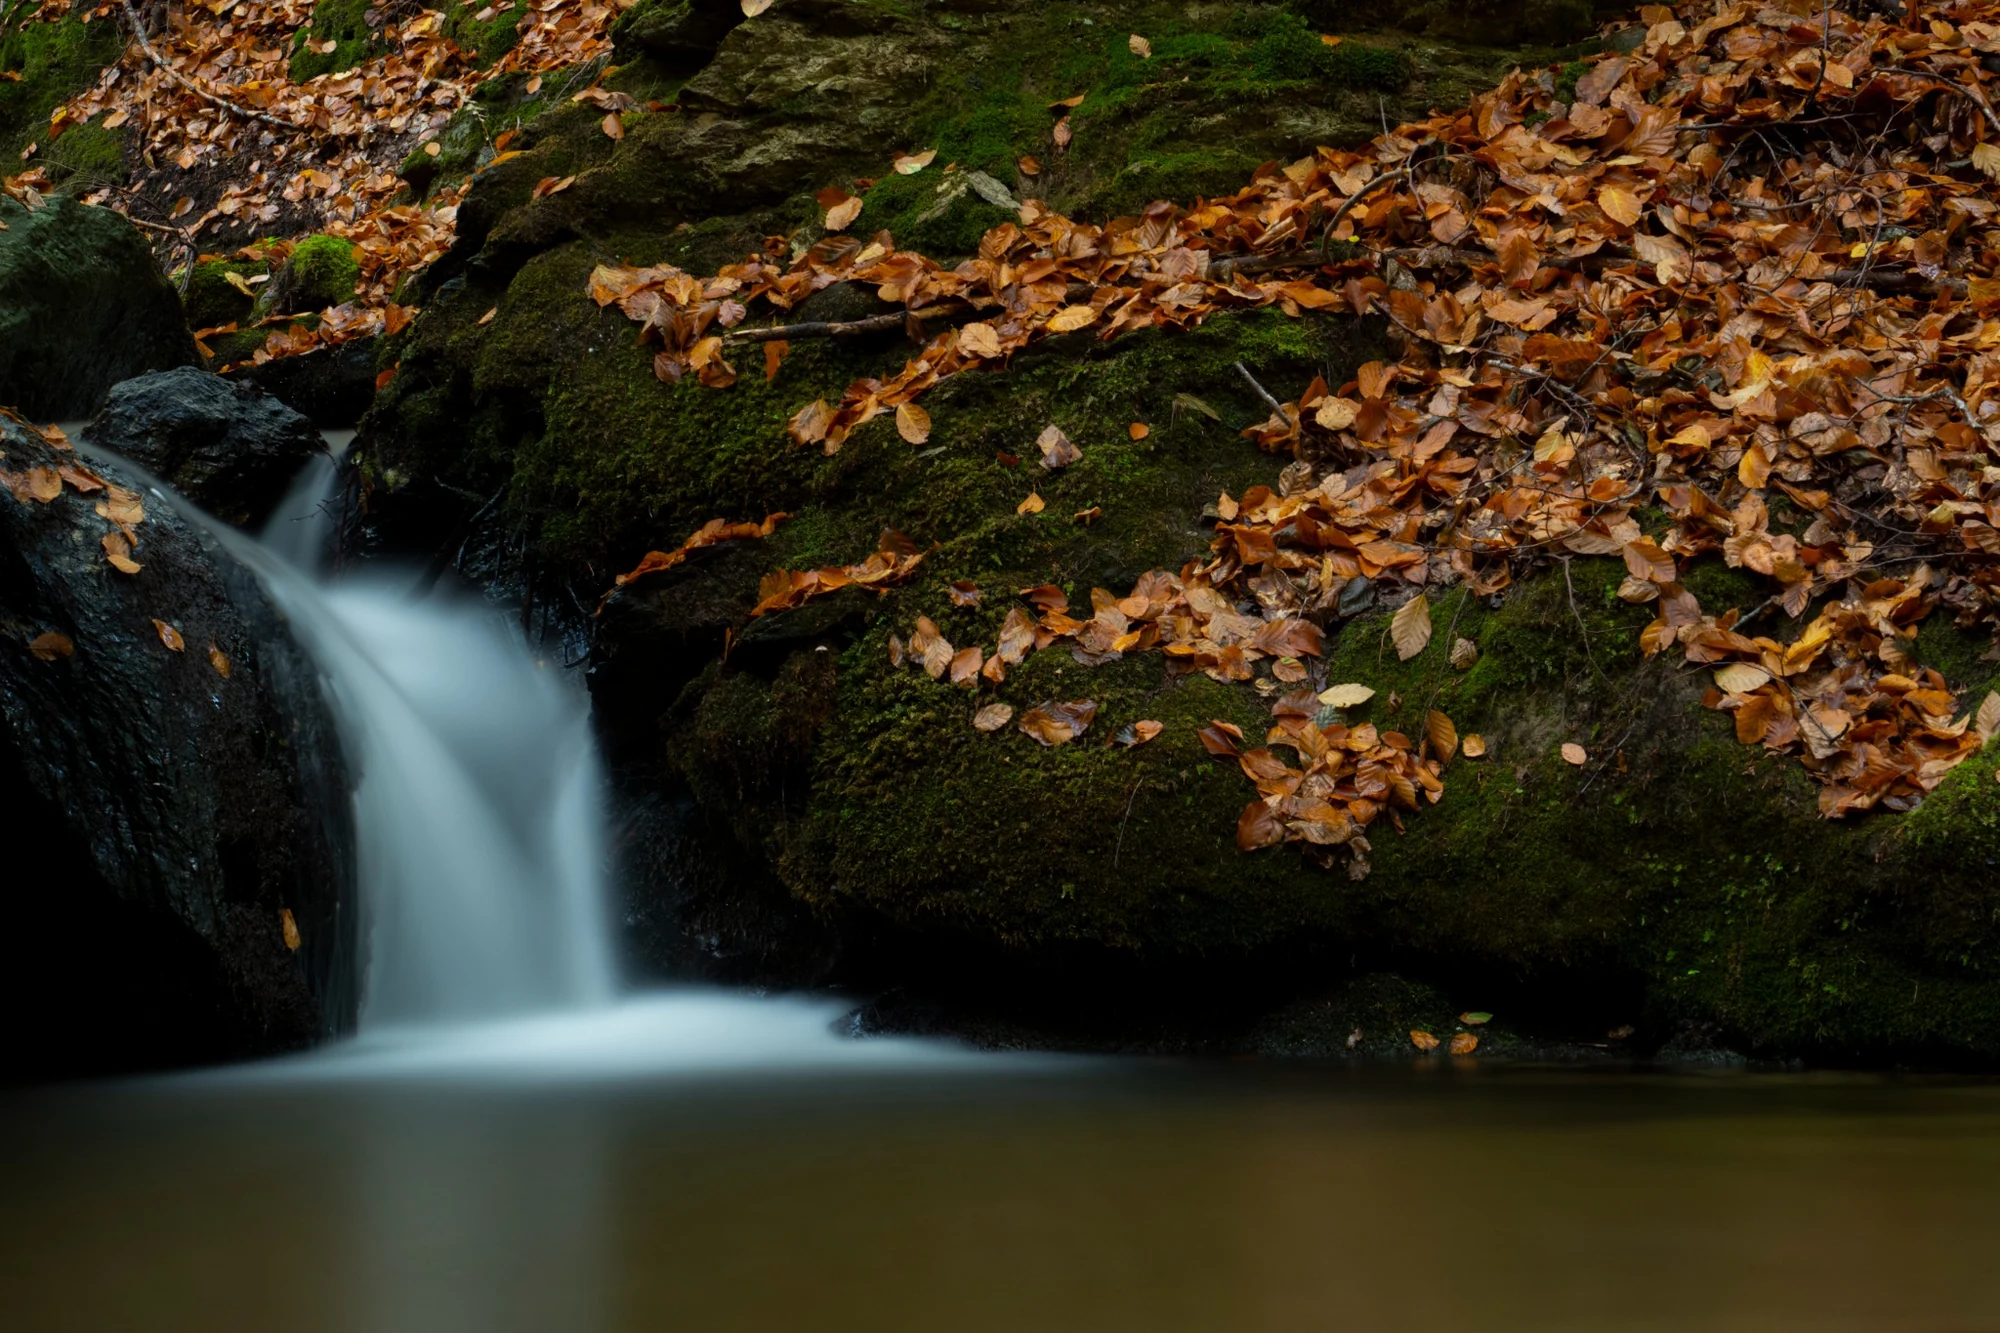
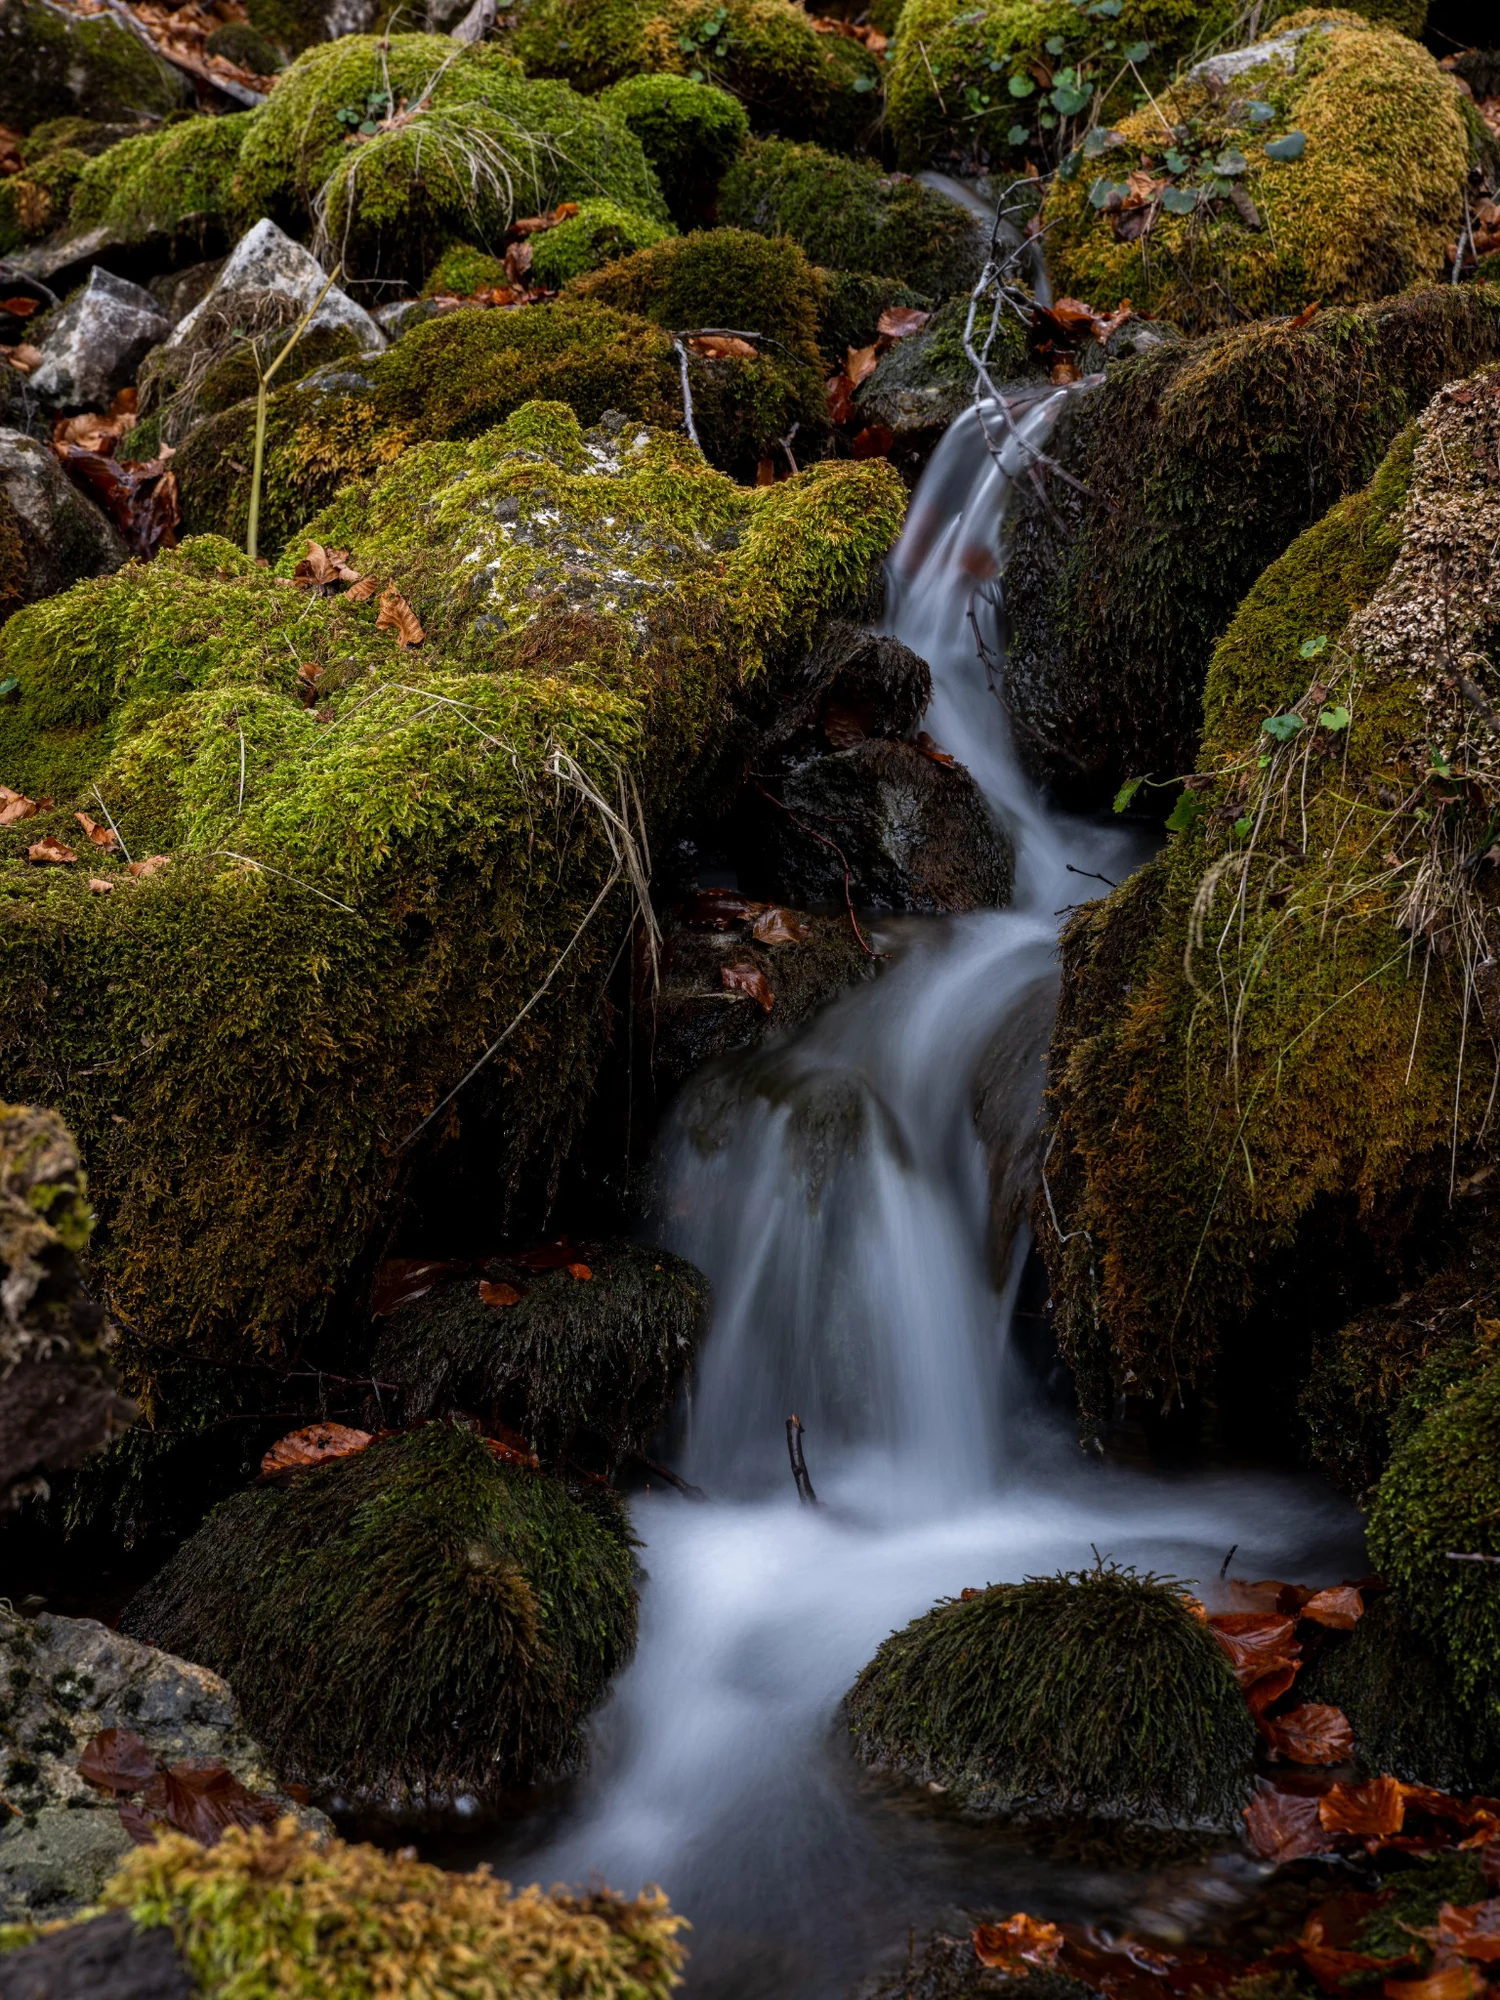
There is no single correct shutter speed for water. A shorter exposure preserves more texture, while a longer exposure smooths the flow. Make several tests and choose what suits the particular scene rather than chasing a preset value.
A tripod helps as exposure times increase, but watch leaves and thin branches. Wind can blur them even when the rocks and camera remain perfectly still.
8. Change viewpoint and orientation before changing equipment
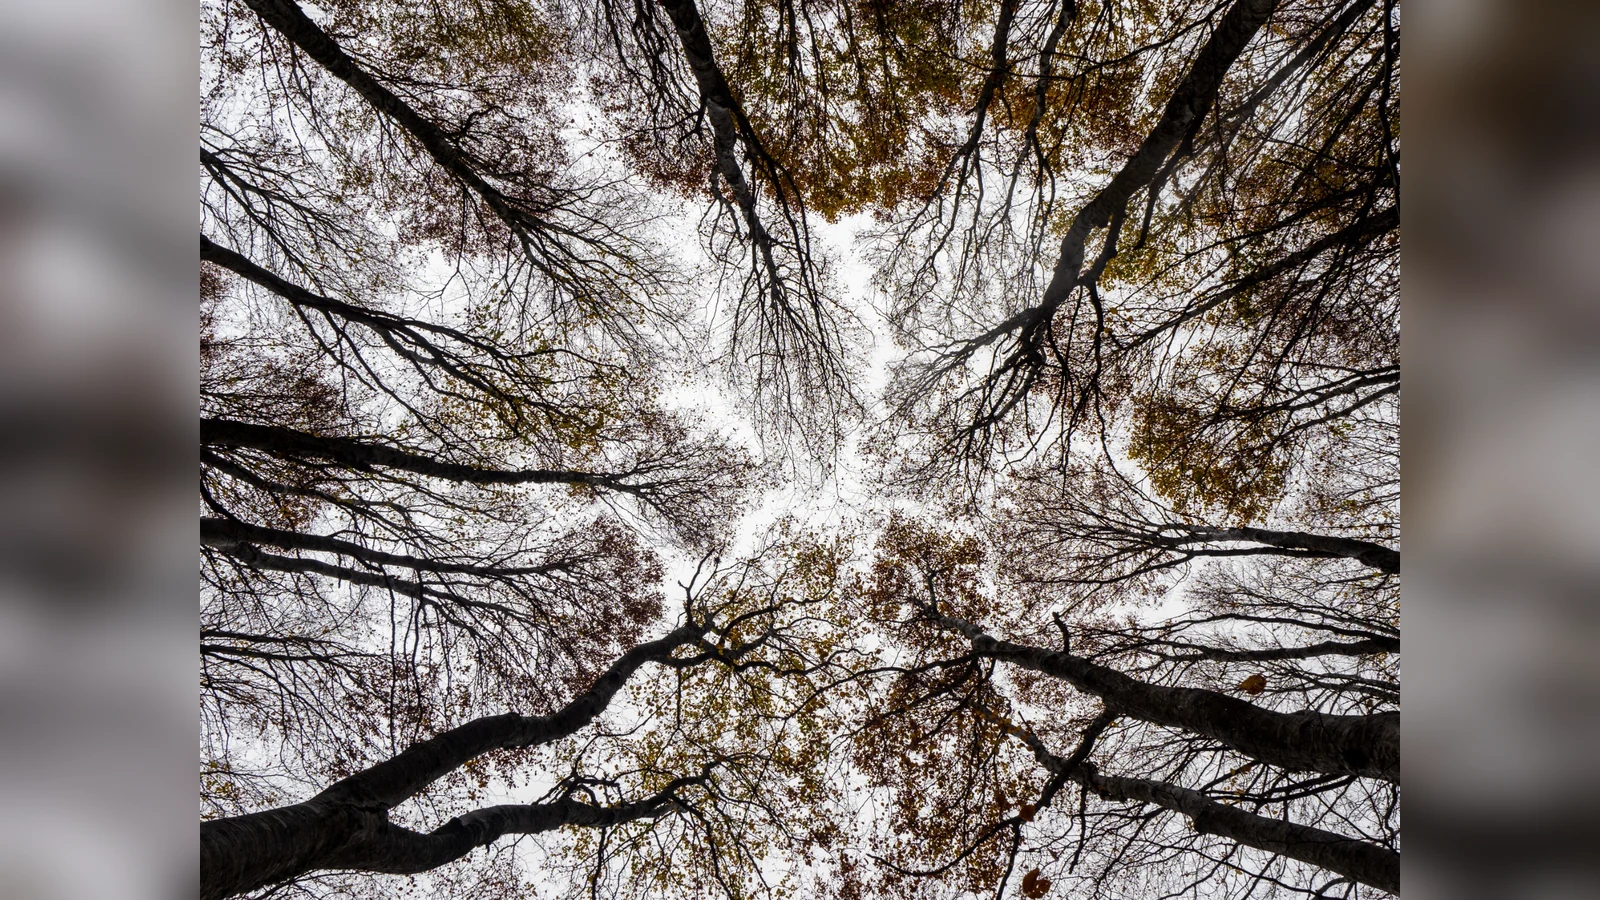
Some of the most interesting photographs appear simply because you stop looking straight ahead. Look upward, get closer to the ground, try a portrait orientation and compare what each change removes from the frame. Woodland contains strong vertical lines, so vertical framing often works particularly well.
The featured image of this guide is based on exactly that change of viewpoint: the camera looks into the canopy and the trunks act like rays converging toward the center.
9. Settings: start with the scene, not an absolute rule
For a static landscape on a tripod, low ISO and a mid-range aperture such as f/8–f/11 are a practical starting point. If leaves are moving in the wind, however, shutter speed becomes more important and a higher ISO may be necessary.
For isolated subjects, a wider aperture can simplify the background. Shoot RAW when you want maximum flexibility in post-processing and check the histogram, particularly in fog or scenes with very bright sky.
10. CPL and editing: preserve the real forest’s tonal and color variation
A CPL can reduce glare from wet leaves, rocks and damp vegetation, but it also cuts light and changes reflections. Rotate it while watching the result and stop where the scene still looks natural.
In post-processing, begin with white balance and exposure, then work selectively on yellows, oranges and reds. Excessive Saturation, Clarity or Dehaze can flatten subtle color transitions or destroy the atmosphere created by fog.
What we think
The hardest part of autumn woodland photography is not finding dramatic color but organizing a complex scene. These photographs show that the same environment can be approached as a line, an isolated subject, a pattern, a reflection or movement. Before changing lenses or settings, first change your position and the way you read the scene.
Frequently asked questions
Which lens is most useful in autumn woodland?
A standard zoom covers many situations, but a telephoto lens is particularly useful for isolating trees, patterns and compressed layers. A wide-angle lens works best when there is strong geometry or an interesting foreground.
Do I always need a tripod?
No. It is very useful in low light and for slow exposures with water, but wind may require a faster shutter speed for moving foliage regardless of how stable the camera is.
When should I use a CPL?
Use it when you want to reduce glare from wet surfaces or control reflections. Do not automatically maximize its effect, especially when a reflection on water is part of the composition.
Is sun or overcast weather better?
Overcast light and fog reduce contrast and help create more even images, while side light or backlight can emphasize translucent leaves. Each condition produces a different kind of photograph.