

Summary
- Rain creates reflections, textures and lighting that simply do not exist on a dry day.
- This guide explores ten different images worth looking for, from wet leaves and puddles to backlight, windows and night streets.
- It explains how shutter speed, shooting angle and a CPL filter change the result.
- It also covers practical camera protection and small details to photograph after the rain.
- 1. Wet leaves: color and texture at a smaller scale
- 2. Puddles and reflections: get low
- 3. Make the rain visible with backlight
- 4. Windows and glass: choose your focus plane
- 5. Umbrellas and people: create a clear point of reference
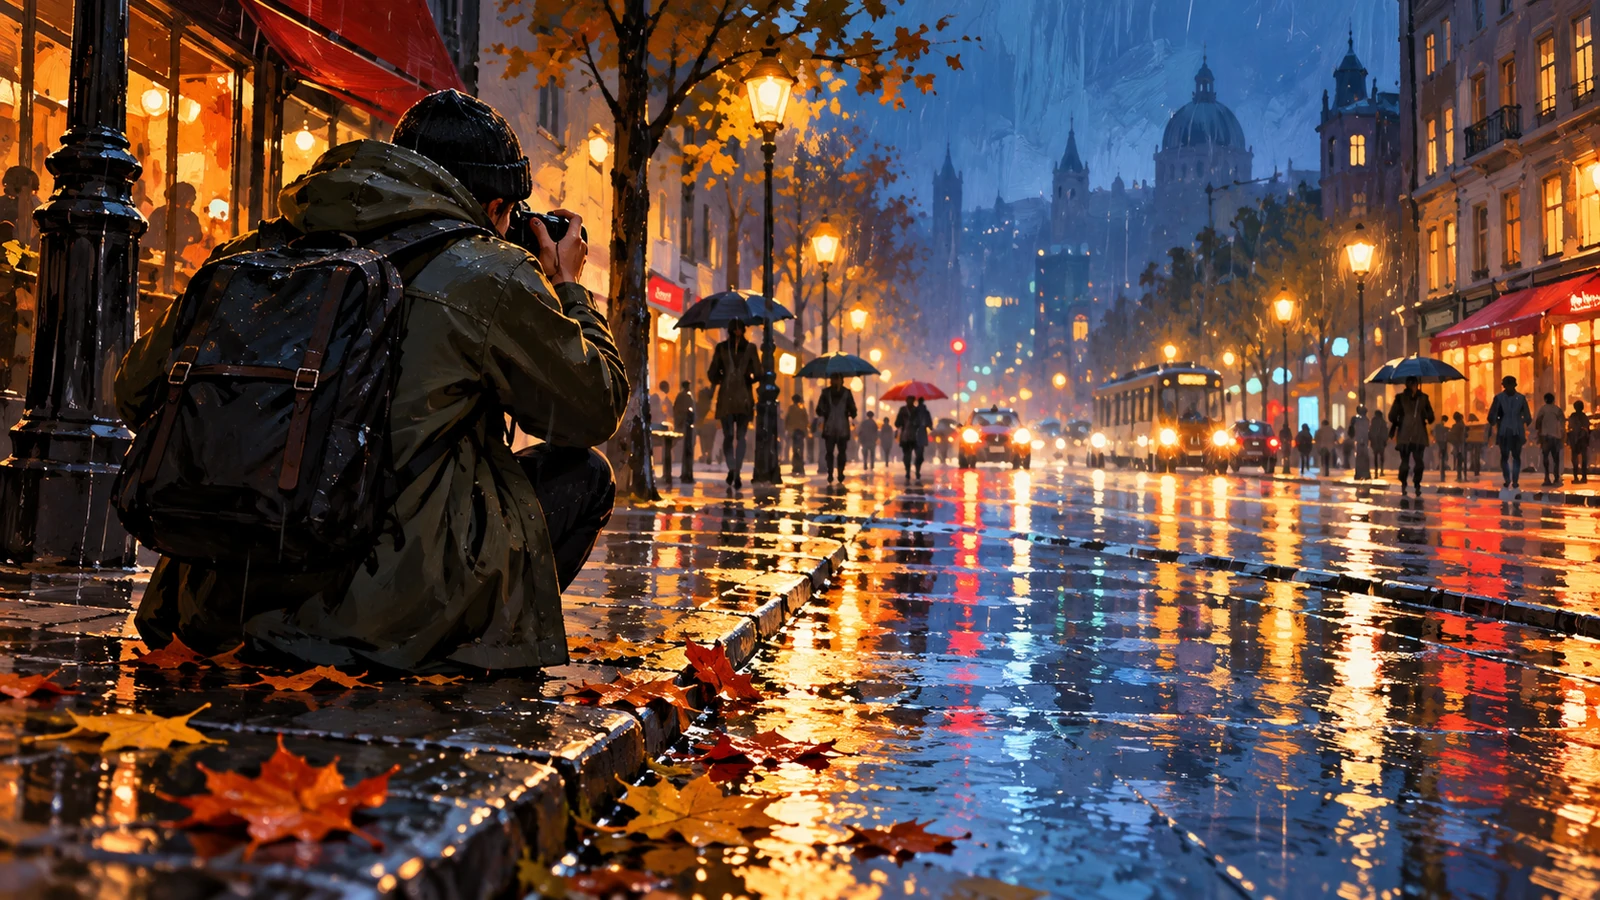
- 6. The city at night: let wet pavement multiply the light
- 7. Drops, rings and splashes: experiment with shutter speed
- 8. Small Details After the Rain
- Protect the camera before you start thinking creatively
- CPL in the rain: use it only when you know what you want to remove
- What we think
- Frequently asked questions
When the rain starts, the easy move is to put the camera back in the bag—but photographically, that is exactly when reflections, color, motion and light begin to appear in ways a dry day simply cannot offer.
The goal is not merely to prove that “it was raining,” but to use rain as part of the composition. The ten ideas below are different starting points: some work in nature, some in the city, and some even let you shoot safely from behind a window.
1. Wet leaves: color and texture at a smaller scale
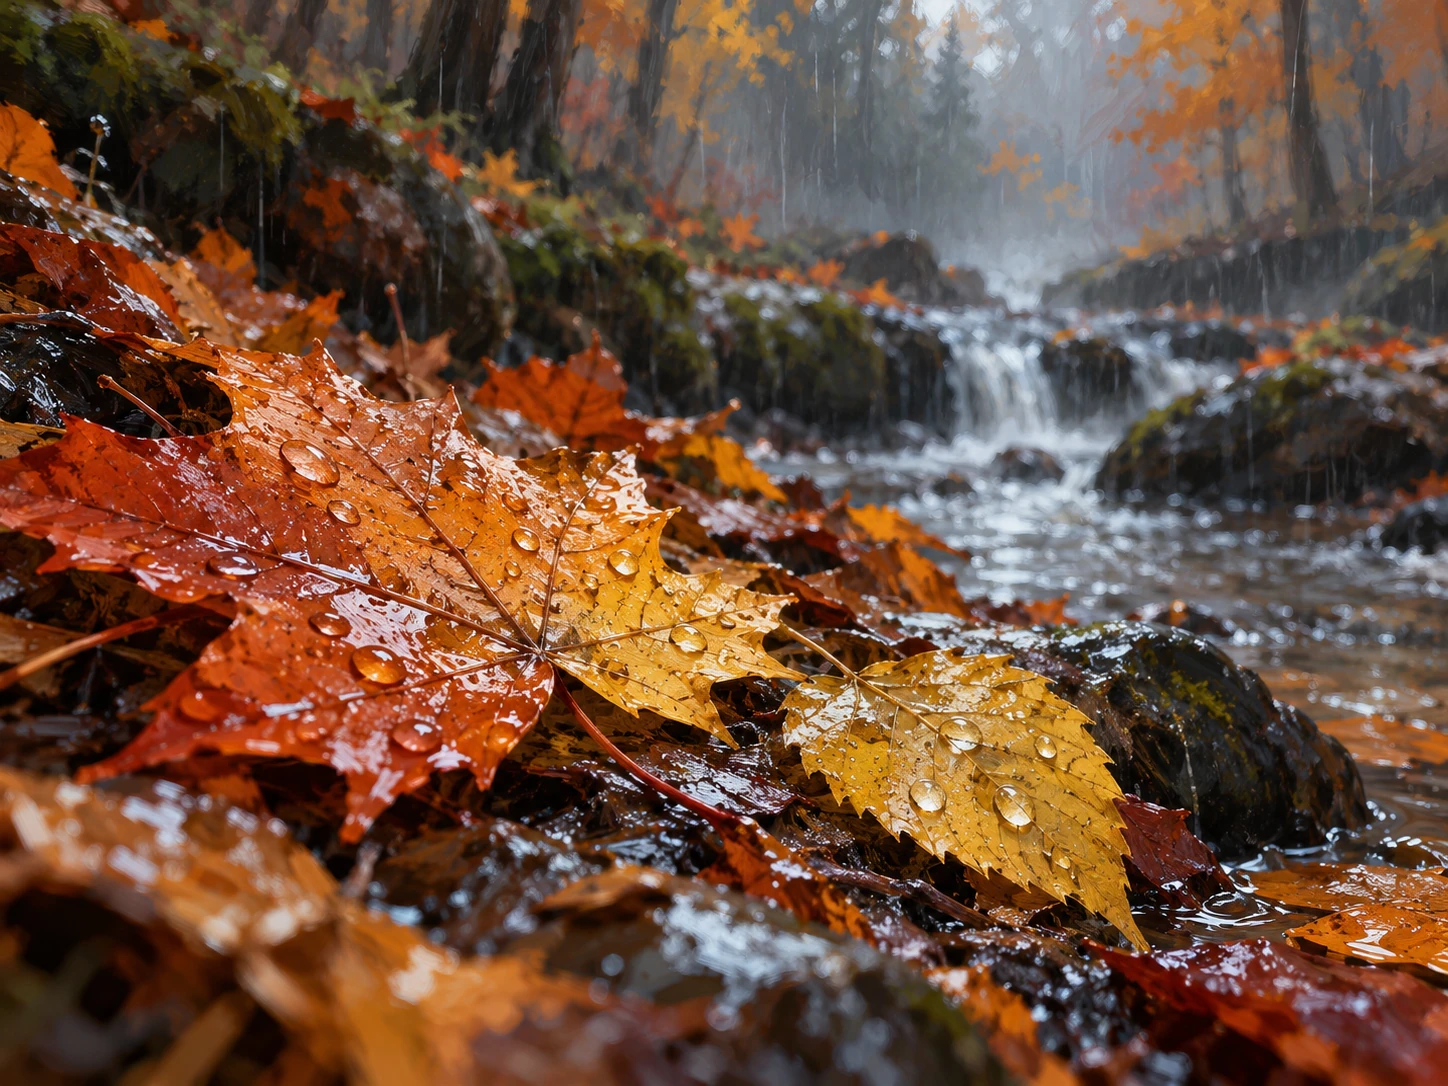
During or after rain, leaves, moss, rocks and tree trunks take on deeper tones and small specular highlights. Move closer, lower the camera and look for one clear shape instead of trying to fit the entire forest into the frame. A medium aperture reveals more texture, while a wider aperture can isolate a single leaf from its surroundings.
For autumn scenes, moisture and reflections can work in your favor, which connects naturally with these practical autumn photography tips. Just keep an eye on the brightest highlights on the droplets: once they clip completely, there is very little to recover later.
2. Puddles and reflections: get low
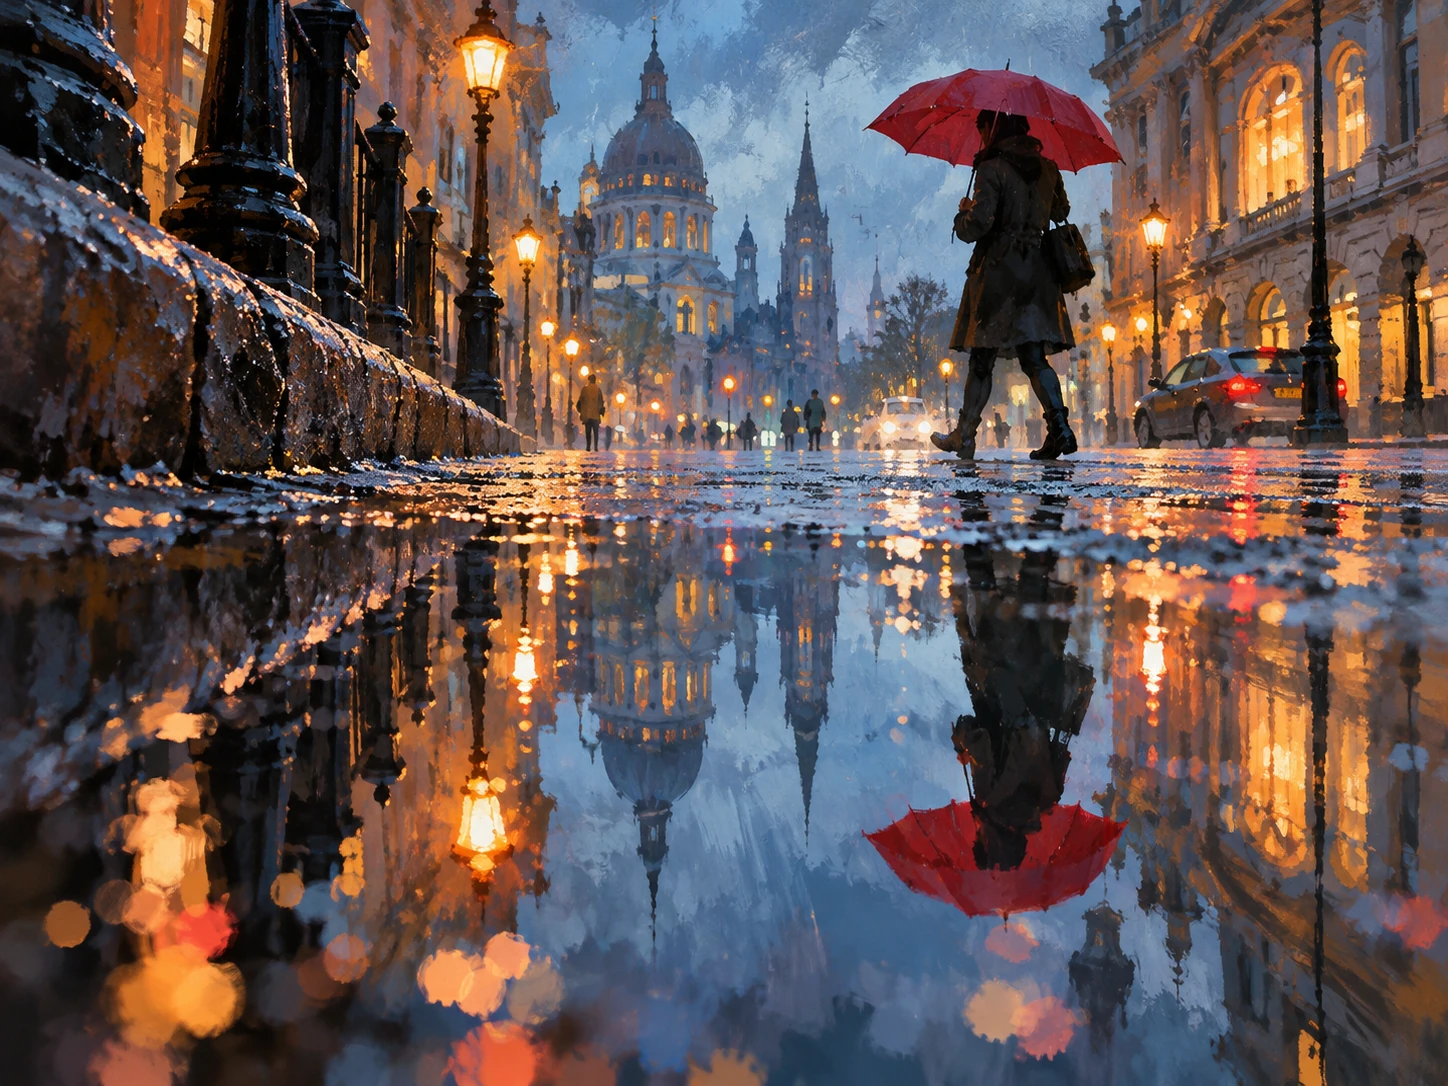
A puddle can become a second sky, a second building façade or a second human figure. Bring the lens close to ground level and decide whether you want the real subject in the frame as well, or only its reflection. The second approach often creates a more abstract image.
Do not chase perfect symmetry every time. An umbrella, a foot entering the frame or a bright window can break the reflection and add a story. If raindrops or passing cars disturb the water, wait a moment before pressing the shutter—the reflected shapes change constantly.
3. Make the rain visible with backlight
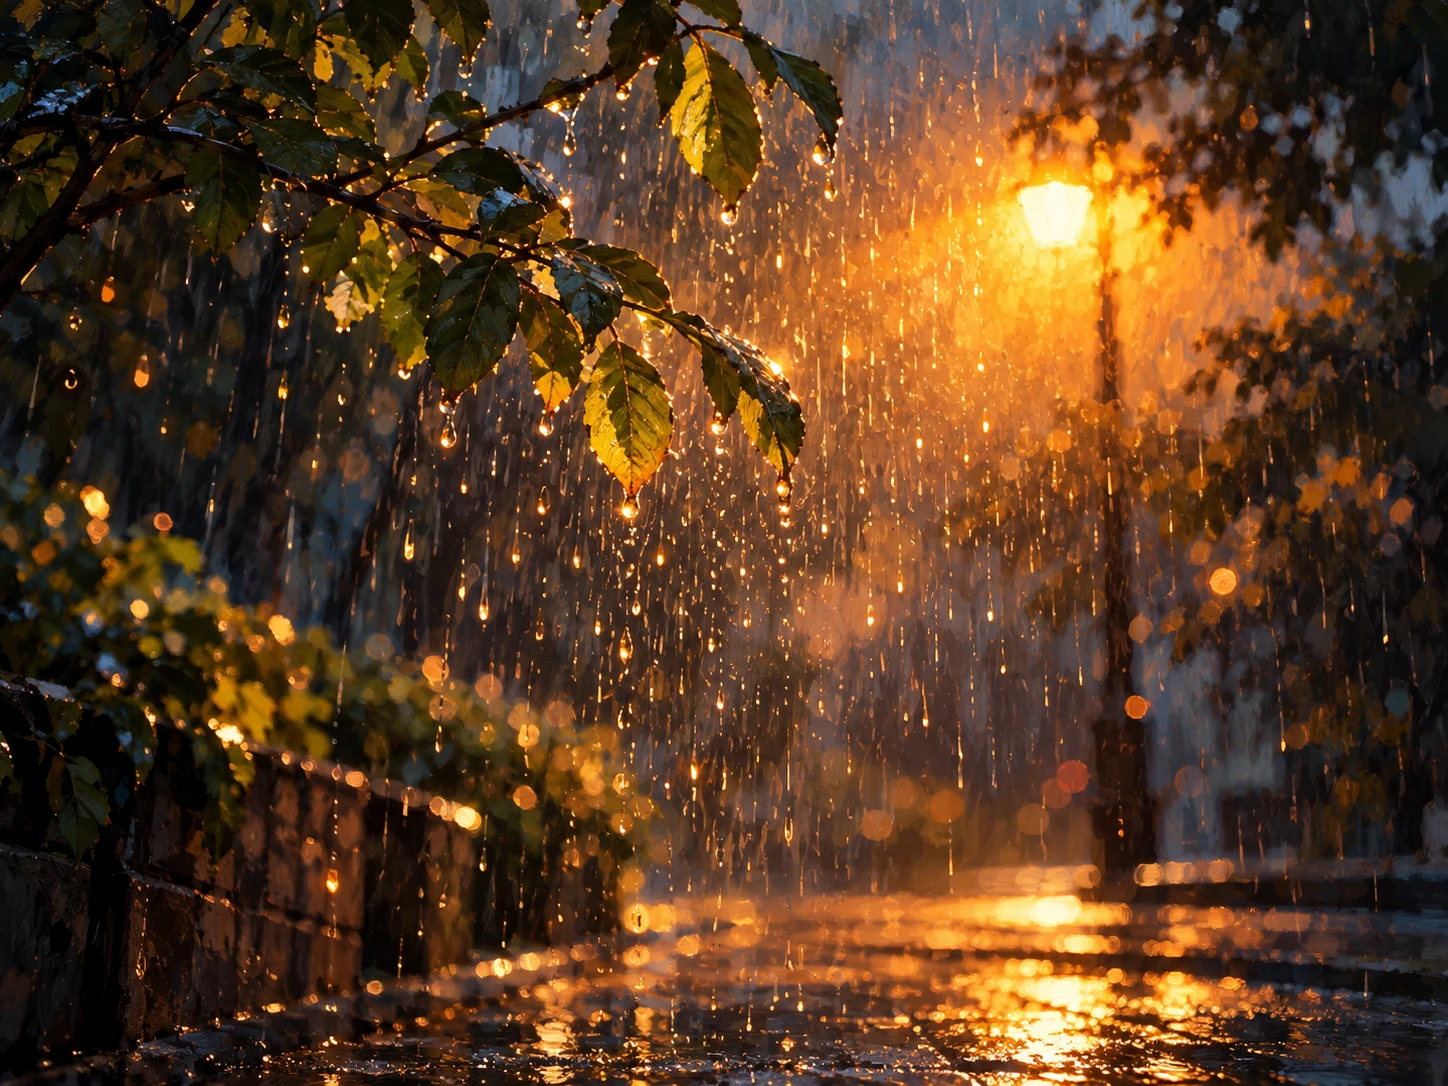
Rain becomes much easier to see when there is a bright source behind it: low sun, a street lamp, a shop window or a spotlight. The key is angle. Move until the drops cross a darker background and let the backlight outline them.
Shutter speed completely changes the feel. As a starting point, a fast shutter such as 1/250–1/1000 sec can render more distinct droplets, while slower values around 1/30–1/60 sec create longer streaks. There is no single correct setting for every scene—make a few frames and decide whether you want energy or atmosphere.
4. Windows and glass: choose your focus plane
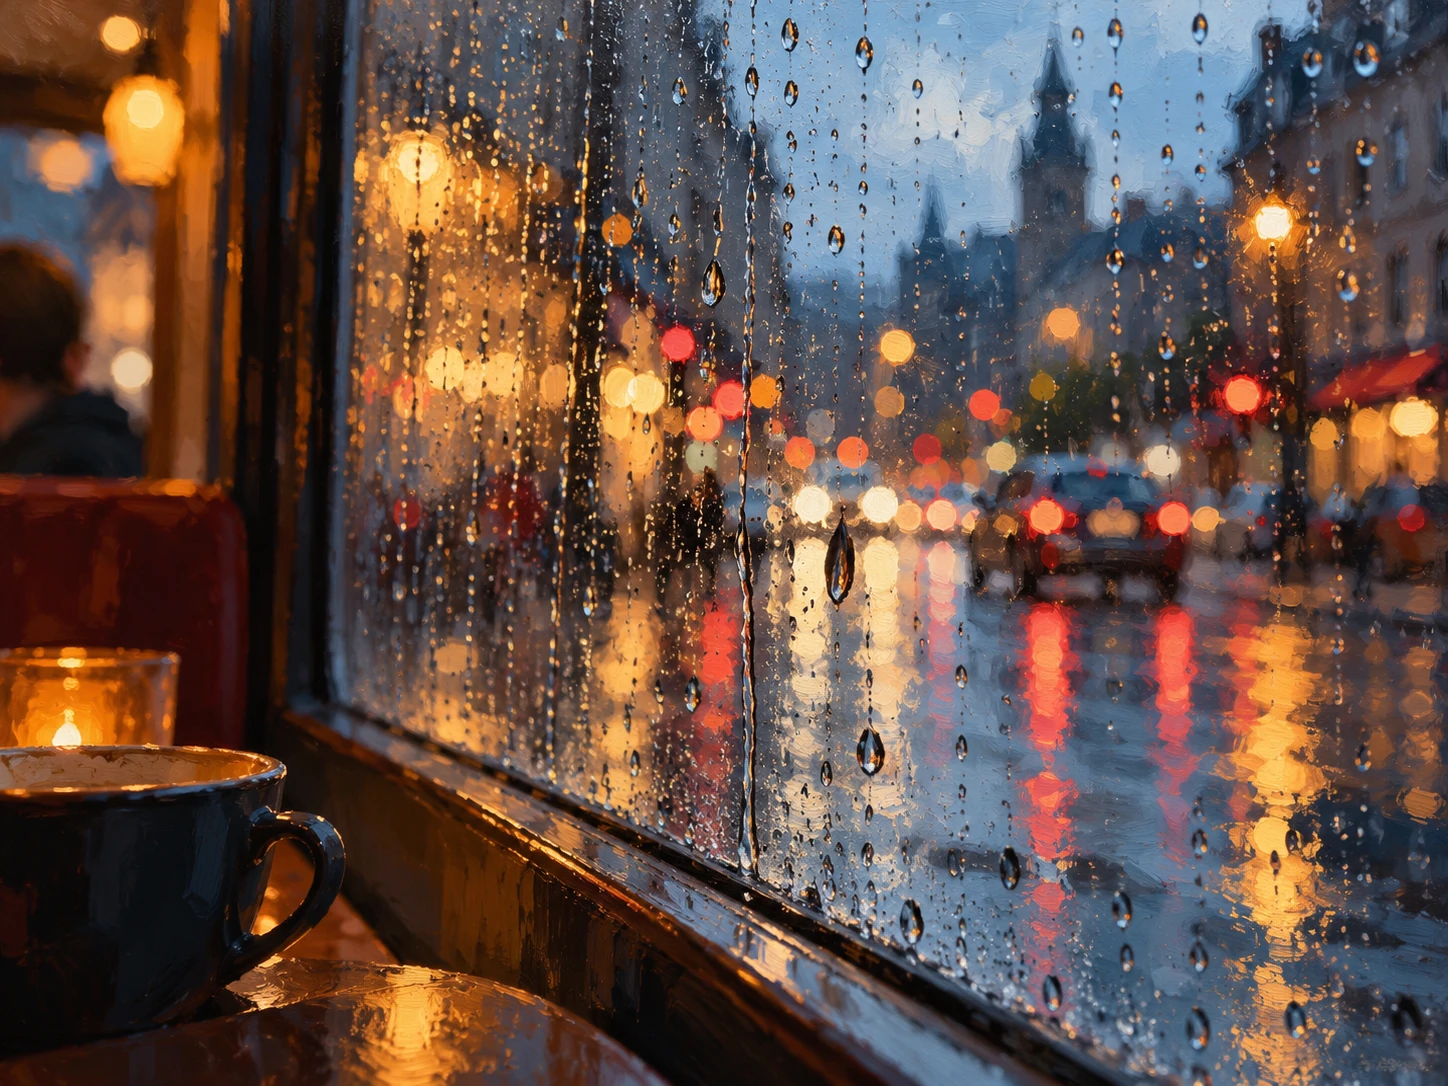
A rain-covered window gives you two different photographs from the same position. Focus on the droplets and open the aperture to turn the lights behind them into bokeh, or focus through the glass and use the rain as a soft layer over the city.
If you want to reduce unwanted reflections from the room, bring the lens close to the glass and shade it as much as possible without pressing the front element against the window. If reflections are already a problem in the file, Adobe Camera Raw also has a reflection removal tool, but getting a cleaner frame at capture is still the better starting point.
5. Umbrellas and people: create a clear point of reference
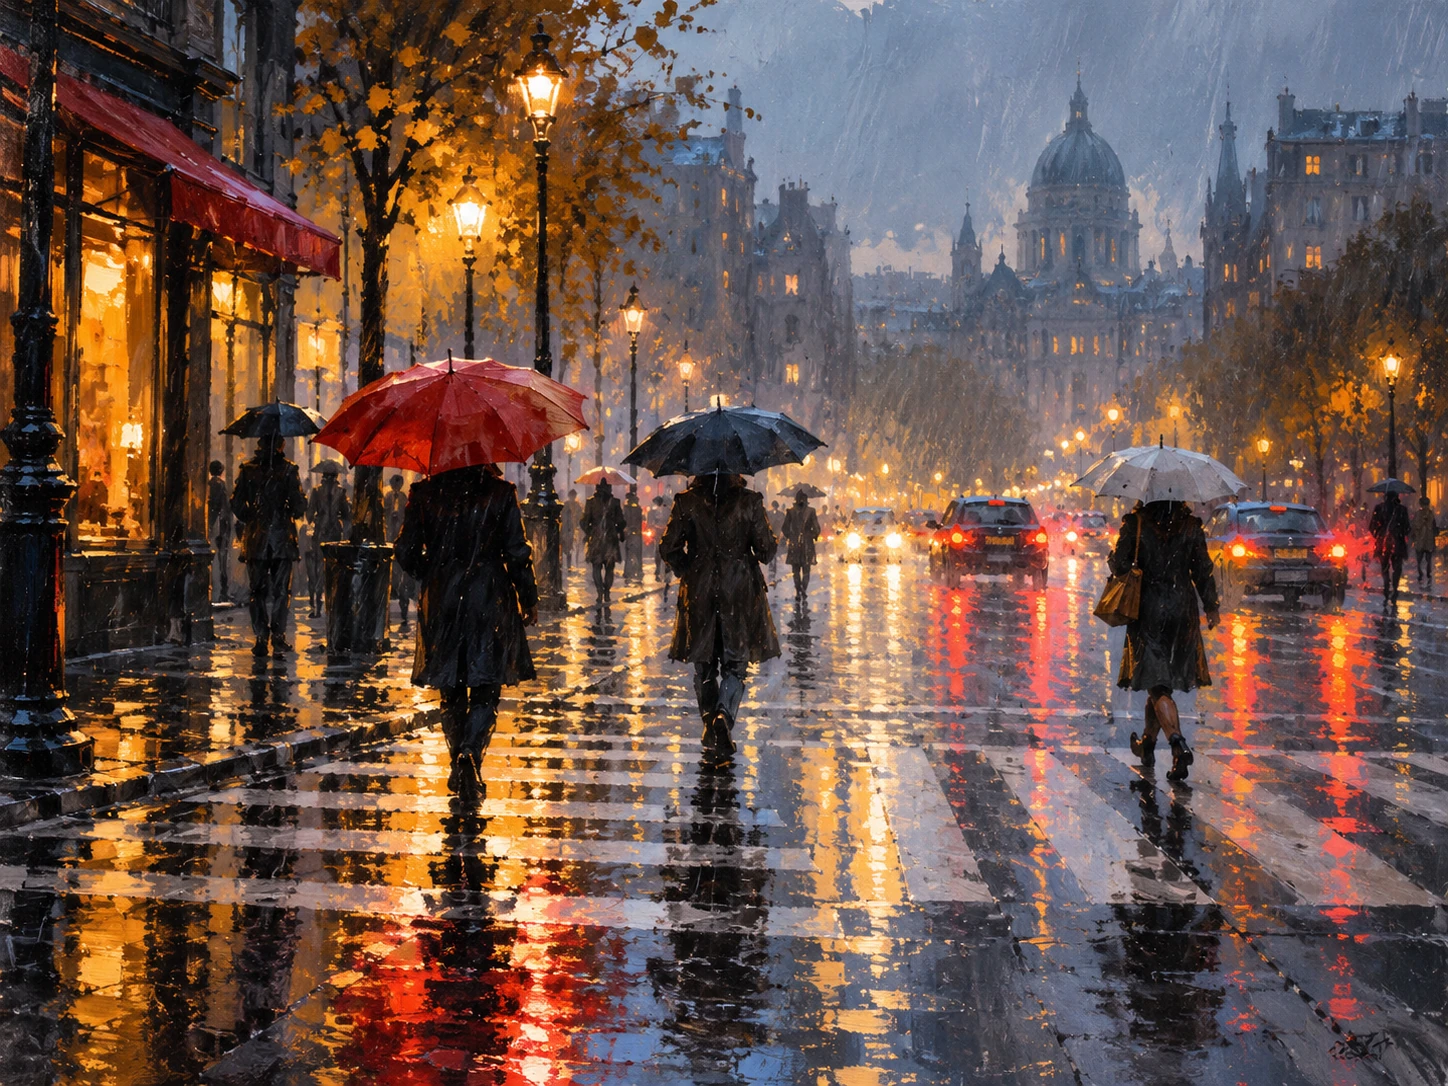
Rain changes the way people move: umbrellas open, bodies lean forward and footsteps speed up. Those small changes add rhythm to street photography. Look for one umbrella or figure that separates clearly from the background and wait for some space to appear around it.
A strong color such as red or yellow can act as a visual anchor in a gray-blue environment. With a longer focal length, you can also compress umbrellas, lights and reflections into a denser frame without having to move too close.
6. The city at night: let wet pavement multiply the light
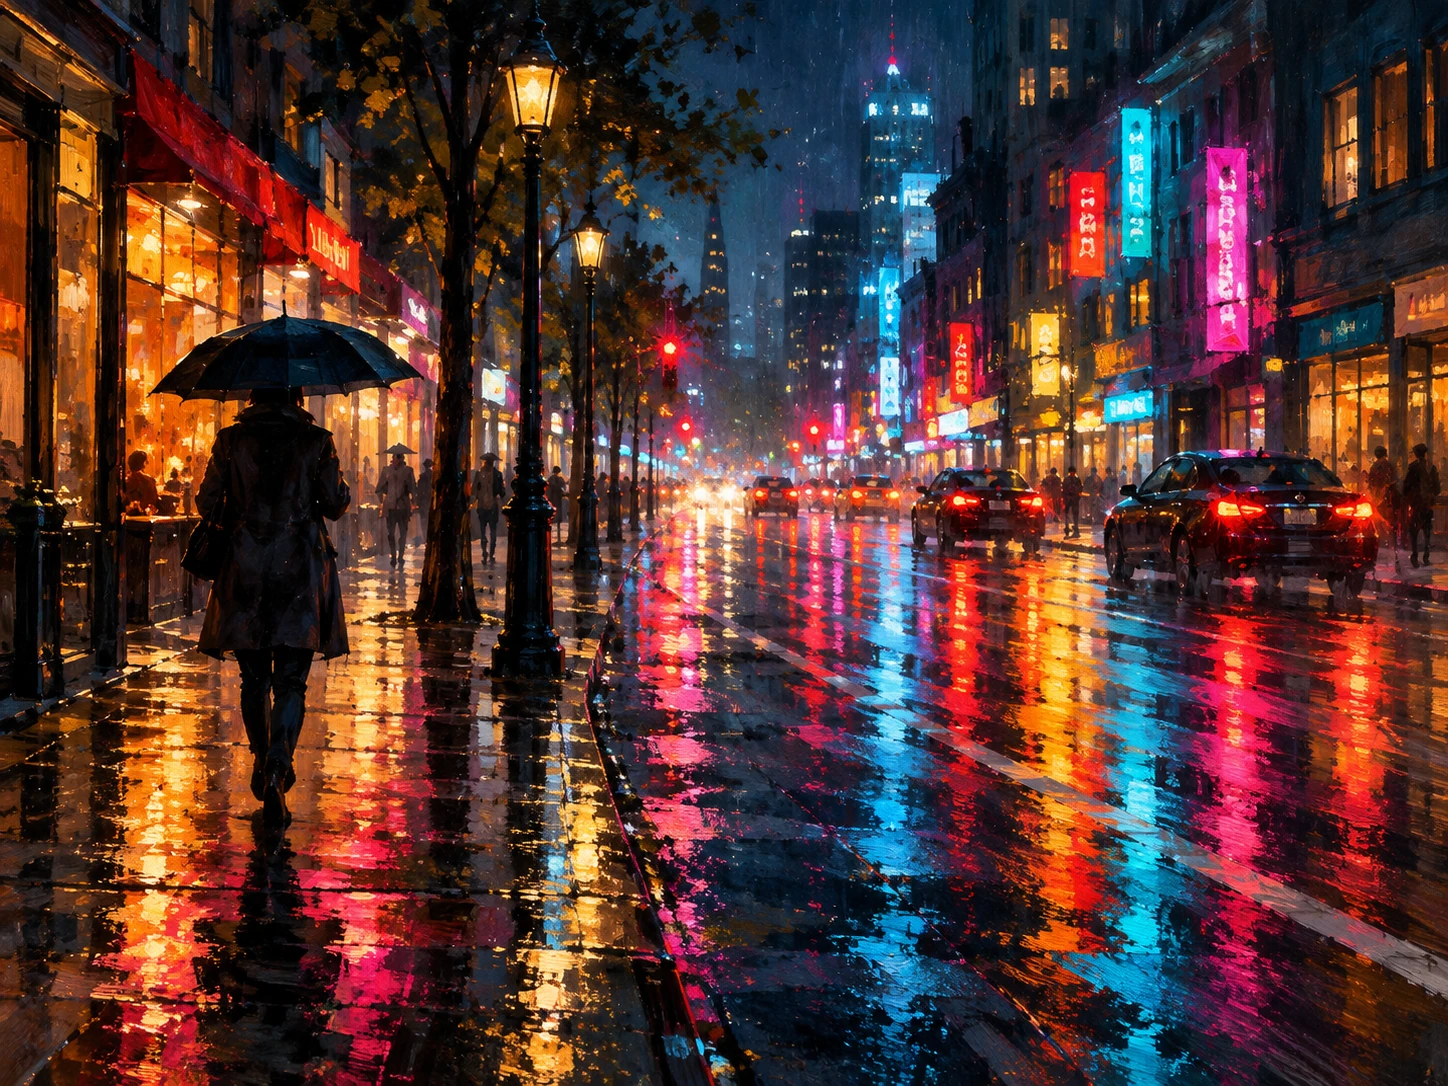
After dark, wet pavement becomes almost a second light source. Headlights, storefronts and neon repeat across the ground and fill a dark frame with color. To keep everything from turning white, watch the highlights and protect the brightest signs instead of lifting the shadows too aggressively.
If you are shooting handheld, open the aperture and raise ISO as much as your camera and moving subject require. With a tripod and a static scene, a longer exposure can stretch car lights and make the reflections even more pronounced.
7. Drops, rings and splashes: experiment with shutter speed
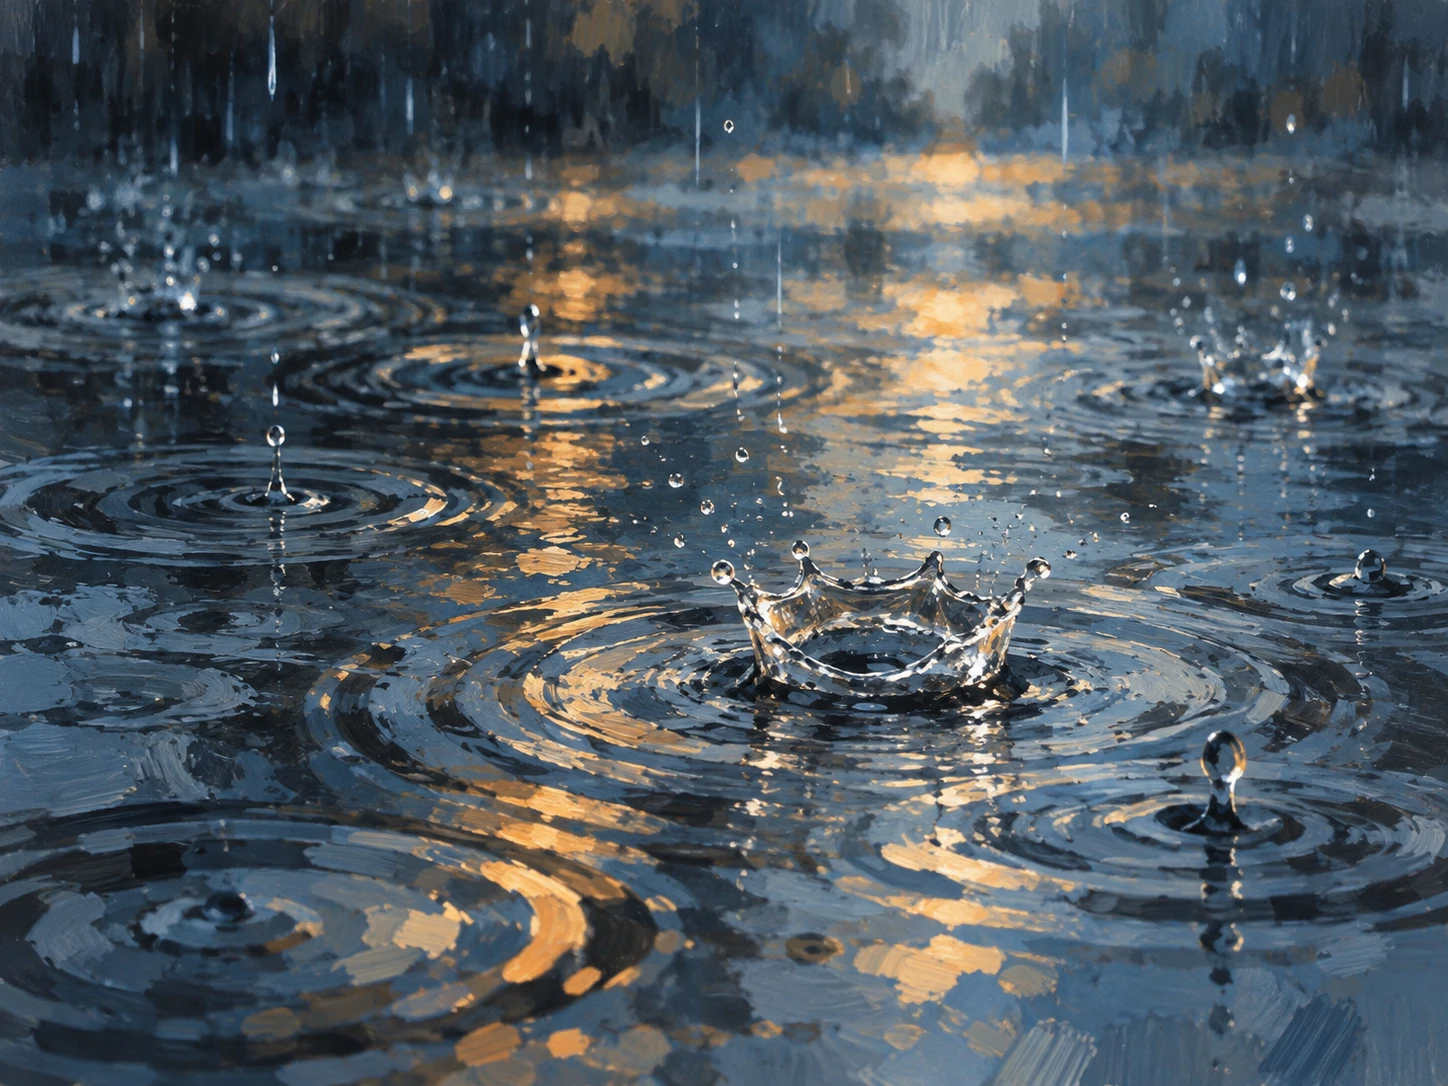
You do not always need a person, building or landscape. A small patch of water can become the entire subject, especially when raindrops create concentric rings or small splashes. Lock focus on the impact area and wait for a visually interesting rhythm.
To freeze a splash, start with a fast shutter—around 1/500 sec or faster, depending on the light. For a calmer, more graphic result, slow the shutter and allow the rings to overlap. Burst mode can help, but do not let it replace actually watching the pattern.
8. Small Details After the Rain
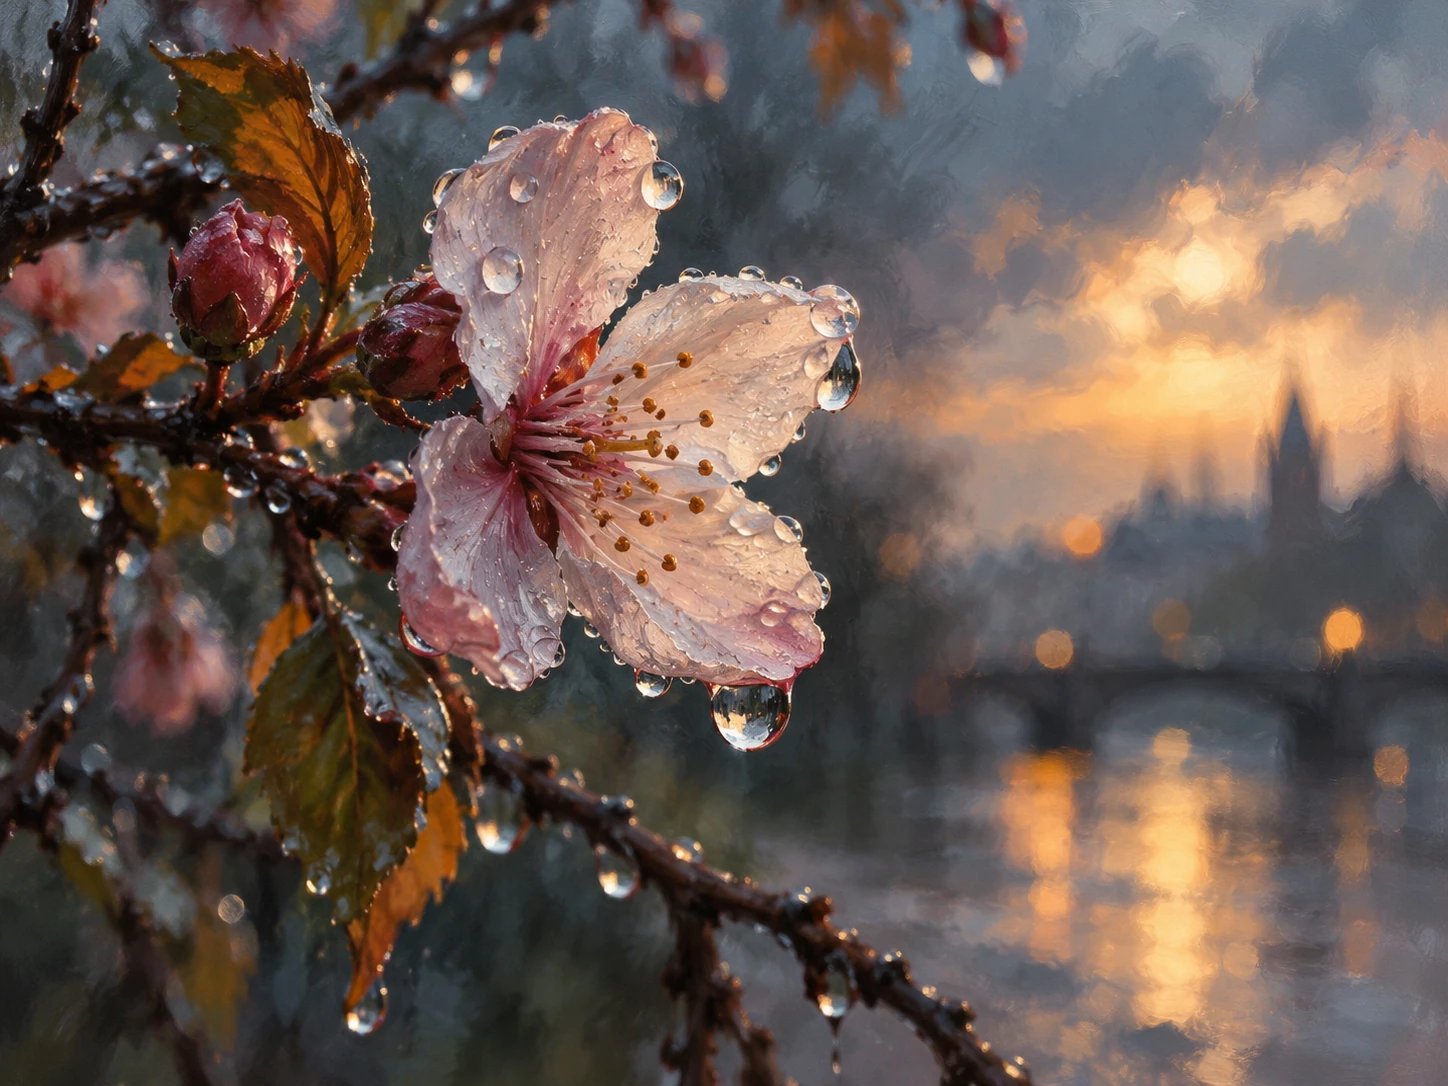
When the rain eases, do not immediately look for the widest landscape. Flowers, branches, spider webs, metal surfaces and tiny droplets can provide an entire set of images. A macro or close-focusing lens helps, but so can a smartphone with good close-focus capability.
Try side light or backlight to give the droplets more shape, and pay even more attention to the background than to the subject itself. At very close distances, depth of field becomes shallow very quickly, so either embrace selective focus as part of the look or stop the lens down and stabilize the camera.
Protect the camera before you start thinking creatively
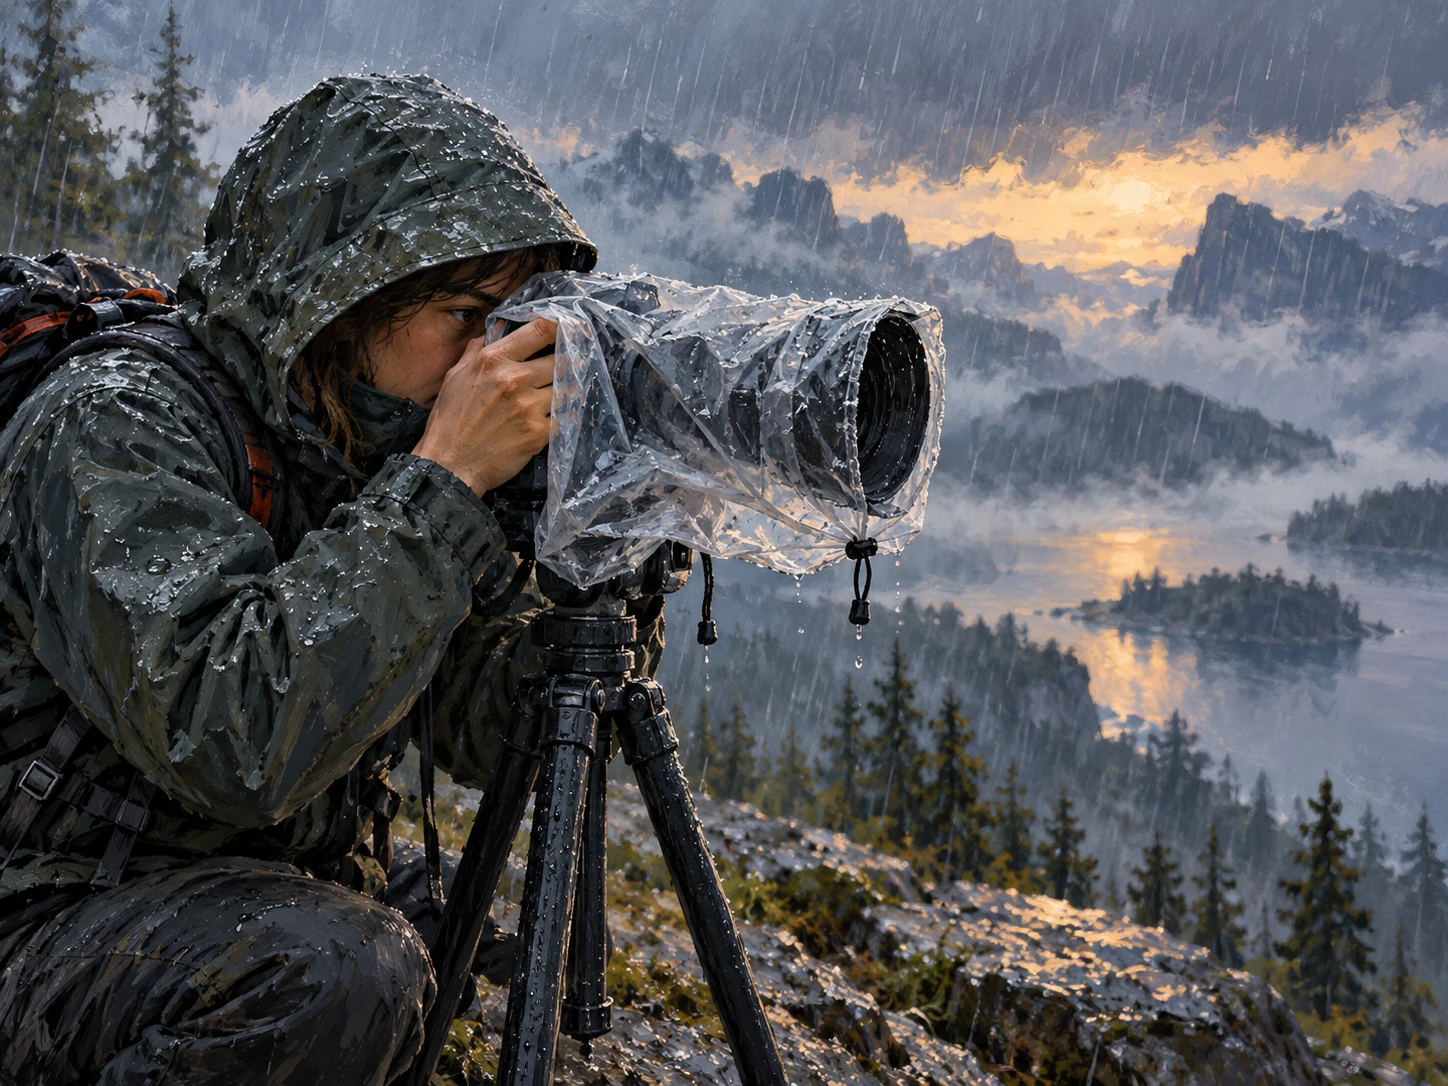
Gear protection is not separate from the photography—it is what lets you stay outside long enough to find the image. A rain cover, lens hood and clean microfiber cloth are practical tools. Avoid changing lenses in the rain unless it is genuinely necessary, so you do not expose the inside of the camera to water.
Do not assume that “weather sealing” means every camera can handle the same amount of rain. Follow the guidance for your specific model and, when you are finished, wipe the exterior surfaces and allow the gear to dry in a safe, ventilated place. If the rain comes with lightning, personal safety takes priority over the photograph.
CPL in the rain: use it only when you know what you want to remove
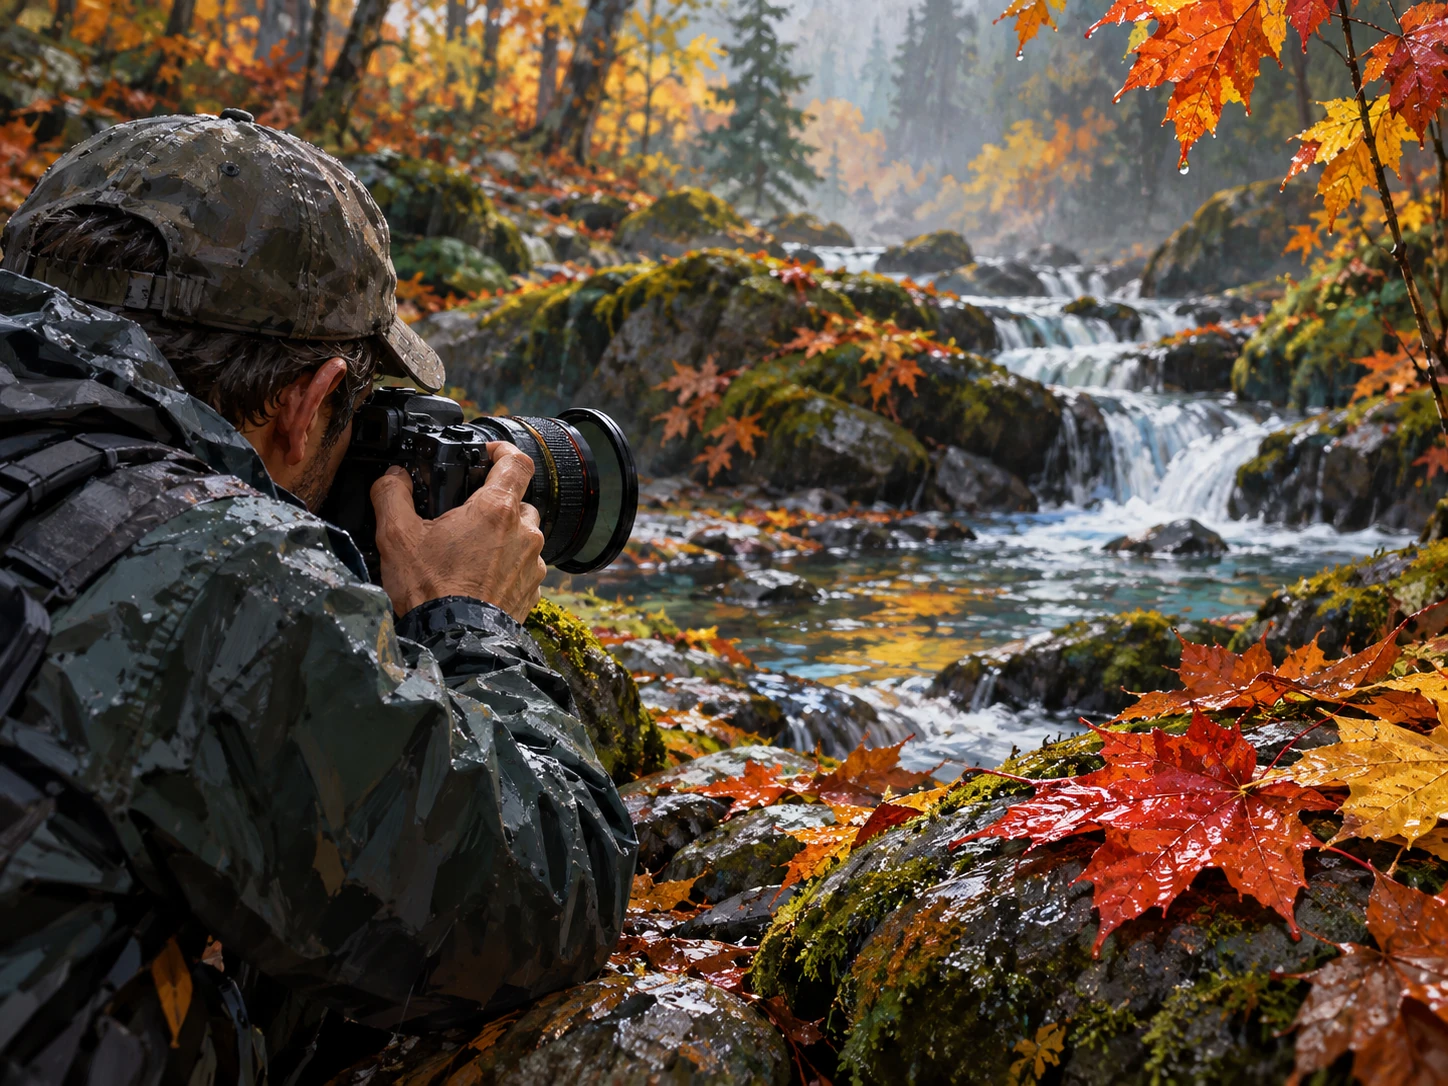
A circular polarizer can be very useful after rain because it can reduce reflections on wet leaves, water and glass and reveal more of the underlying color. The important point is not to use it at maximum strength by habit. Rotate the filter while watching the image and stop where the scene keeps the balance you want.
If the reflection in a puddle is your subject, a polarizer may remove exactly what makes the frame work. The same is true on a wet street at night, where glare is part of the atmosphere. Understanding how polarization controls reflections is more useful than treating a CPL as a permanent accessory.
What we think
Rain is one of those conditions that rewards observation more than expensive gear. You do not need an exotic location: an ordinary street, a window or a fallen leaf changes character because water adds second images, new textures and different light. The useful lesson is simple—before changing lenses or settings, look at what has actually changed in front of you.
There is also an obvious cliché trap. Neon on wet asphalt and a red umbrella are instantly attractive, but a good photograph still needs a clear subject, timing and composition. If you come back from a rainy walk with ten variations of the same reflection, the weather probably did too much of the work for you.
It is more interesting to treat rain as a small photo project: one establishing frame, one human moment, one reflection, one backlit scene, one abstract image and one detail. Pair that with sensible gear protection rather than paranoia; once you stop worrying about every drop that lands on the camera, you have more attention left for the picture.
Frequently asked questions
What shutter speed is best for photographing rain?
It depends on the look you want. Faster shutters, roughly 1/250–1/1000 sec as a starting point, make droplets more distinct, while slower values produce longer motion streaks. Available light, focal length and subject movement determine the final setting.
Do I need a waterproof camera to shoot in the rain?
Not necessarily, but you need to know the limits of your specific equipment. A rain cover and lens hood provide practical protection, and it is best to avoid changing lenses in active rain. Weather sealing varies significantly between models, so follow the manufacturer guidance for your camera.
When is a CPL worth using in the rain?
Use it when you want to control glare and reflections on water, foliage or glass. If a reflection is part of the composition, use the polarizer carefully or not at all. Rotate the filter while watching the live effect so you can see exactly what disappears and what becomes clearer.